


Think a README is optional? Think again.
A bad README loses contributors and wastes hours.
A readme template generator fixes that fast.
Paste your project name, pick sections, and get a proper README.md instead of hunting boilerplate across repos.
These tools generate GitHub-flavored Markdown, badges, and correct heading hierarchy, often client-side so your details never leave the browser.
This post shows when to use a generator, how to produce a ready-to-commit README in minutes, and the common gotchas to avoid.
Instant Tools for Generating a README Template

A readme template generator pulls together all the standard sections, badges, and markdown syntax your project README needs and lets you fill in specifics through a simple form. You’re not staring at a blank file or hunting for boilerplate across five old repos. You paste your project name and description, pick which sections to include, and get a formatted README.md ready to commit.
Most generators ask for project name, description, repository URL, and optional fields like maintainer contact or license choice. You select which sections you want (badges for build status or coverage, installation steps, usage examples, contributing guidelines, licensing info) and the tool assembles them with correct heading hierarchy and markdown syntax. Badge options let you pick from build status and coverage badges that point to the right URLs once you supply your repo details.
Output arrives as clean Markdown you can copy straight into your editor or download as README.md. Some generators offer an HTML preview or export option, so you see exactly how GitHub or GitLab will render the file before you push.
Key capabilities:
- Client-side generation keeps your project details private. Nothing leaves your browser.
- Instant output means you go from blank form to complete README in under two minutes.
- Selectable sections let you include only the blocks that match your project type.
- Proper markdown formatting ensures headings, lists, code blocks, and links follow conventions.
- Multi-project consistency helps teams standardize docs across repos.
- Download options provide both README.md (Markdown) and HTML outputs.
README Template Options and Commonly Included Sections

Generators typically offer fields for project description, badges (build status, coverage, version), table of contents, installation instructions, usage examples, API documentation, contributing guidelines, and license information. Four sections appear in almost every generator: installation, usage, contributing, and license. Beyond those, you’ll find optional blocks for features, roadmap, acknowledgments, and changelog.
These sections matter because they align with what developers and maintainers expect when they land on a new repository. Installation tells them how to get started. Usage shows the fastest path to a working example. Contributing sets ground rules for pull requests. Licensing clarifies legal boundaries. Skip any of these and you leave gaps that frustrate contributors and slow adoption, especially in open-source projects where clear docs directly influence star counts and issue quality.
Common template sections:
- Badges: build status, coverage percentage, version tags, license shield
- Installation: package manager commands, system dependencies, environment setup
- Usage: quick-start code snippet, CLI examples, import statements
- Contributing: branch workflow, code style, testing requirements
- License: chosen license name and link to full text
Markdown-Based README Template Styles and Output Formats

Most generators produce standard GitHub-flavored Markdown with H1 for the project title, H2 for major sections like Installation and Usage, and H3 for subsections when needed. Consistent heading levels ensure the table of contents auto-generates correctly. Markdown conventions like triple-backtick code fences, bullet lists, and inline code snippets render predictably across GitHub, GitLab, Bitbucket, and static site generators.
Generators often include an “Output” section that previews the rendered markdown in real time, so you catch formatting issues before you commit. Export options let you save README.md as a markdown file for your repo root or download an HTML version for internal wikis or static documentation sites. Both formats preserve the same content and structure. The HTML export just wraps the markdown output in basic HTML tags for direct browser viewing.
Customization Features Available in Modern README Generators

Most tools start with a template picker that offers preset layouts for common project types: open source library, portfolio project, CLI tool, API service. Once you pick a template, you fill in editable fields for project name, tagline, installation commands, and usage examples. Each section block can be toggled on or off, so you include only what fits your project.
Some generators support profile stats widgets that pull metrics like language distribution, commit activity, or contribution graphs directly from your GitHub profile. These widgets show up as embeddable images or markdown snippets that update automatically when someone views your README. You control which stats appear by toggling feature flags in the generator interface. Show language breakdown but hide commit streak, for example.
Preview refinement happens in real time. As you fill fields and toggle sections, the output pane updates instantly. You see exactly how headings, code blocks, badges, and lists will render. If something looks off, you adjust the input and watch the markdown regenerate immediately.
Advanced customization elements:
- Section reordering via drag and drop or up/down buttons
- Custom badge URLs for services like CircleCI, Travis, or codecov
- Syntax highlighting language picker for code examples (bash, python, javascript, etc.)
- Table of contents depth control to limit auto-generated TOC to H2 or include H3 subheadings
README Templates for Different Project Types
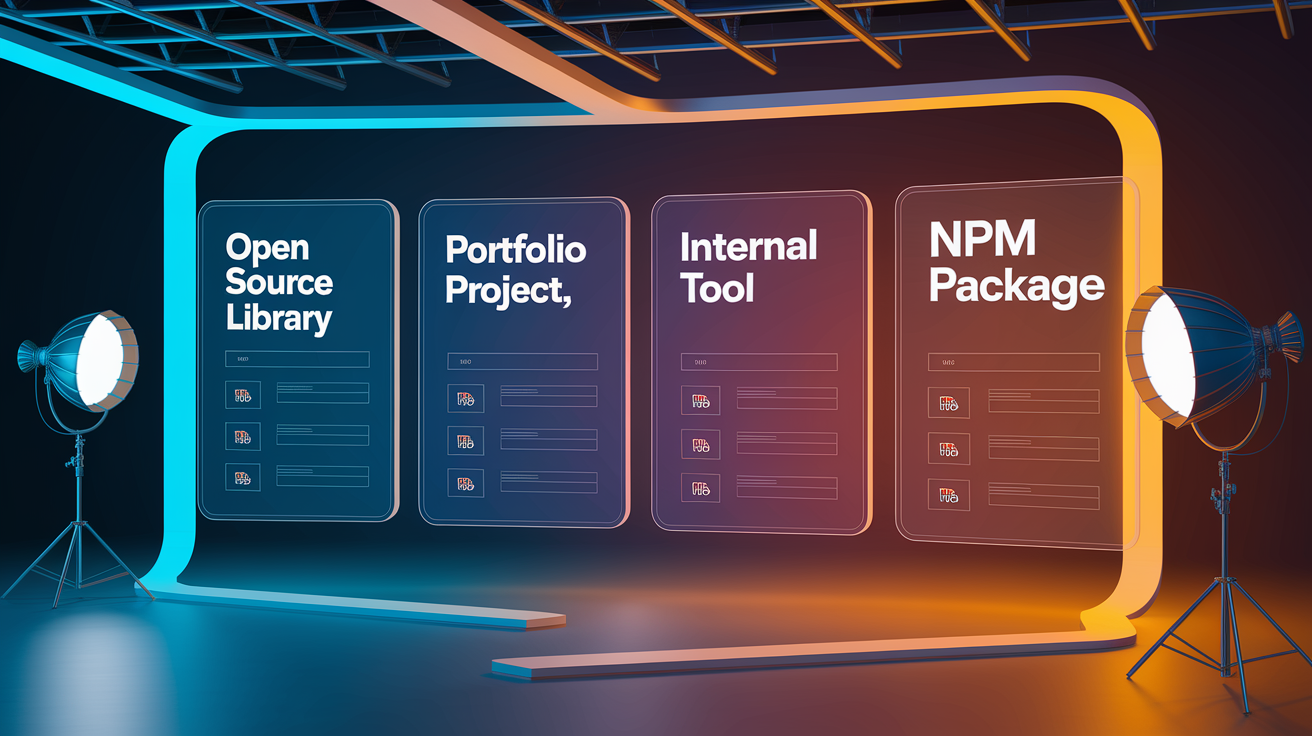
Open-source projects need badges for build status, coverage, and version, plus detailed contributing guidelines and a Code of Conduct section. Internal tools skip the badges and public contributor rules, focusing instead on installation steps, environment variables, and who owns the repo. Both types benefit from installation and usage sections. But open-source templates emphasize community engagement while internal templates prioritize deployment context and access controls.
Package and library READMEs (npm packages, Python libraries on PyPI, Ruby gems) require installation commands that match the package manager (npm install, pip install, gem install), import or require examples, and API documentation with method signatures and return types. JavaScript library templates often include a browser CDN snippet alongside the npm install line. Python project READMEs add virtual environment setup and requirements.txt notes. These templates also benefit from a “Quick Example” section right after installation, showing the simplest working code in five lines or less.
Related generators support multi-file scaffolding. An Apache Config Generator handles server setup files, while an API Routes Generator creates endpoint stubs for Express, Fastify, or NestJS. Combining a README generator with these tools gives you a consistent documentation and configuration baseline across all project files in one sitting.
| Project Type | Typical README Sections |
|---|---|
| Open Source Library | Badges, Installation, Usage, API Docs, Contributing, License, Code of Conduct |
| Portfolio Project | Demo Link, Screenshots, Features, Tech Stack, Installation, License |
| Internal Tool | Purpose, Installation, Environment Variables, Deployment Notes, Maintainers |
| npm/PyPI Package | Install Command, Quick Example, API Reference, Changelog, License |
| CLI Tool | Install Command, Usage Examples, Flags/Options, Config File, Troubleshooting |
Workflow: How to Use a README Template Generator Efficiently

A structured workflow cuts the time spent on formatting and reduces the chance you’ll forget a critical section like contributing guidelines or license info. Instead of jumping between your editor, old READMEs, and badge documentation sites, you move through a single form in order, filling each field as you go, and end up with a complete, correct file.
- Enter your project name, one-line description, and repository URL in the first fields.
- Select which sections to include (badges, installation, usage, contributing, license) by checking boxes or toggling switches.
- Add badge options by pasting URLs for build status and coverage endpoints, or let the tool generate placeholders you’ll replace later.
- Customize each section’s content. Paste your install command, usage snippet, contribution rules, and license name in the provided text areas.
- Preview the output in real time to confirm heading hierarchy, code block syntax, and badge rendering.
- Click “Generate README” to produce the final Markdown, then copy it or download README.md.
- Commit the file to your repo root and push to GitHub or GitLab, where it renders immediately on the project landing page.
Integration Tips for GitHub and Other Repo Hosts

Place the generated README.md file at the root of your repository (same level as your .git folder and package.json or setup.py) so GitHub and GitLab automatically render it on the repo homepage. Commit it with a message like “Add project README” and push to the main or master branch. If your default branch has a different name, make sure the file lands there, not in a feature branch, or the homepage will stay blank.
Badge configuration follows a simple pattern: most badges are just images with links. For build status, you paste the badge URL from your CI service (GitHub Actions, CircleCI, Travis) that points to your repo’s workflow status. For coverage, you link to your codecov or coveralls badge endpoint with your repo slug in the URL. As long as the image URL and the href URL both exist and point to the right service, the badge will update automatically whenever your build or coverage numbers change.
Related Tools That Support README and Project Documentation

Documentation tools benefit from auxiliary generators because projects rarely consist of a single README. You also need .gitignore, .env templates, Dockerfiles, and config files that match the language and framework choices you made in your README. Generating all of these in one session keeps naming conventions, file structure, and dependency versions aligned.
Related generators integrate naturally with README workflows. After you generate a README that mentions Docker setup, a Dockerfile Generator creates the matching Dockerfile for Node.js, Python, Go, Java, PHP, or Ruby in seconds. If your README lists environment variables, a .env Generator scaffolds the template with placeholder keys. When you include a contributing section that references code style, a .gitignore Generator adds ignore rules for your language and editor.
Consistent multi-file automation saves setup hours and eliminates version mismatches. If your README says “Node.js 18,” your Dockerfile should pull FROM node:18, and your .gitignore should exclude node_modules. Generating all these files from templates at the same time means one set of choices propagates across every config file. You reduce the chance that your install instructions contradict your Docker setup or that your .gitignore misses build artifacts.
Related generators commonly paired with README tools:
- Docker Compose Generator for multi-service stacks with networks and volumes
- Dockerfile Generator supporting six languages with optimized base images and layer caching
- .env File Generator with templates for popular frameworks like Express, Django, Rails
- .gitignore Generator covering languages, IDEs, and build tools
- API Routes Generator for Express.js, Fastify, Next.js API Routes, and NestJS endpoint scaffolding
- Apache Config Generator for VirtualHost blocks, reverse proxies, SSL, and static site configs
Final Words
In the action, you saw how a README generator turns inputs (project name, badges, install, usage, contributing, license) into ready-to-copy Markdown with live preview and export options. It’s faster than hand-writing and keeps formatting consistent.
You also picked up a tidy workflow: fill fields, pick sections, preview, export, and commit to GitHub, plus related generators for Dockerfile and .gitignore to speed scaffolding.
A good readme template generator cuts setup time and helps teams ship clearer docs—so tweak a template and push your README with confidence.
FAQ
Q: What does a README template generator do?
A: The README template generator creates a ready-to-use README by filling selectable sections from your inputs, saving minutes versus writing from scratch and producing GitHub-ready Markdown.
Q: What inputs are needed to generate a README?
A: The generator needs project name, short description, repository links, optional badges (build/coverage), and section choices like installation and usage to produce a complete README.
Q: What output formats can the generator produce?
A: The generator outputs Markdown by default and often HTML; you can preview results, then export via Save README.md or Save HTML Output for direct commit or hosting.
Q: Which sections are typically included and why do they matter?
A: Typical generators include installation, usage, contributing, license, table of contents, badges, and API docs so maintainers and users find setup, examples, and contribution steps quickly.
Q: How do I customize a README template?
A: You customize templates by picking a base template, toggling sections, editing fields, adding badges or stats widgets, and using the live preview to refine content before export.
Q: Are README generators safe for private project content?
A: Many generators run fully client-side, keeping your content in the browser, instantly generating Markdown you can copy, download, or commit without server uploads.
Q: What is a fast workflow for using a README generator?
A: A fast workflow is: enter details, select sections and badges, customize text, preview, generate Markdown, then export or commit; use JSON import/export to reuse or reset forms.
Q: How do I integrate the generated README with GitHub?
A: To integrate with GitHub, place the generated README.md in the repo root, commit it, and use standard badge URLs and heading hierarchy so GitHub renders correctly.
Q: Which related tools should I use alongside a README generator?
A: Use related generators like Dockerfile, Docker Compose, .gitignore, .env, API routes, and Apache config to keep README content consistent with project scaffolding.
Q: Can README generators handle different project types?
A: Generators offer templates for open-source, internal tools, npm/PyPI packages, libraries, and scripts—pick a template that includes package-specific fields and examples.