

What if one app could replace Illustrator, your controller software, and the guessing game at the laser bed?
LightBurn is that app for many makers: it bundles vector and raster editing, job prep, simulation, camera alignment, and machine control across Windows, macOS, and (older) Linux, while talking to Ruida, Trocen, and GRBL controllers.
This post walks through core features, real-world gotchas, and the $40 one-time license plus update options so you can quickly decide whether LightBurn fits your laser and workflow.
Complete Overview of LightBurn Software Functionality and Core Capabilities

LightBurn is an all-in-one laser cutting and engraving app that bundles design tools, job prep, and machine control in one place. Runs on Windows, macOS, and Linux (though Linux support stops at version 1.7). You can build projects from scratch or bring in existing files—SVG, AI, PDF, DXF, PLT, BMP, JPEG, PNG. It talks to CO2, diode, and galvo lasers using Ruida, Trocen, or GRBL controllers, but you’ll want to double-check your specific machine before buying. One-time license costs $40, with optional yearly updates. There’s a 30-day trial if you want to test first.
You get both vector cutting and raster engraving in the same interface, no need to bounce between a design app and a separate control panel. Connect via USB, Ethernet, Wi-Fi, or grab the optional LightBurn Bridge device for cleaner wireless. The interface includes layer management, animated job previews, real-time simulation so you don’t waste material, and camera integration that overlays your design onto a live bed view. Adjust power, speed, and pass count right there. The Material Library stores presets so you’re not guessing settings every time you switch from wood to acrylic or leather.
What you can do:
- Edit vectors and manipulate nodes without jumping to external software
- Trace images to convert photos and bitmaps into vector paths ready for engraving or cutting
- Control layers with unique power, speed, and operation modes assigned to different colors or groups
- Use camera alignment to overlay designs onto live feeds, handy for scrap material or irregular stock
- Import common design formats or create projects directly inside LightBurn
- Preview jobs with animated path simulation to catch mistakes before you fire the laser
LightBurn Design Tools and Editing Features for Laser Projects

LightBurn packs a full design toolkit, so you can skip Illustrator or Inkscape if you want. The vector workspace handles drawing, text, node editing, alignment, offsetting, and Boolean ops like union, weld, subtract, intersect. You can import splines, snap objects to grid or other shapes, auto-join open paths. Text tools let you place type on straight lines, curves, or custom paths, and you can tweak individual nodes to adjust letter shapes or build custom effects. Multi-line text boxes handle longer content. SHX single-line fonts give you clean engraved lines without fill overlap.
Image prep happens in LightBurn too. The trace function turns bitmaps into vector outlines. The adjust image panel has brightness, contrast, gamma, and noise reduction sliders to clean up scans or photos before engraving. Image masking lets you hide parts of a raster using vector shapes, useful for selective engraving or combining images with cut borders. Ordered dithering and flood fill modes control how grayscale images convert into dot patterns for halftone work.
Vector Editing and Node Tools
The node editor works like a stripped-down CAD tool. Select any path, switch to node edit mode, then move, add, delete, or convert nodes between line and curve types. Trim and extend adjust path endpoints. Perforation cutting creates dashed cut lines with custom gap spacing. The offset tool generates inset or outline copies, handy for borders, shadow layers, or kerf compensation.
Image Trace and Cleanup Features
Trace Image converts photos, logos, and scanned drawings into vector paths. Adjust the threshold slider to control detail capture, use smoothing controls to balance edge fidelity against node count. Once traced, you can edit paths like any other vector, combine them with text or shapes, assign cut or engrave operations. Masking applies a vector shape as a stencil over a raster image, hiding everything outside the mask boundary before you send the job.
Common editing actions:
- Boolean operations (union, weld, subtract, intersect) to combine or cut shapes
- Offset tool for inset or outline copies with precise distance control
- Text on path and text on curve for wrapping type around circles, waves, or custom shapes
- Image masking to apply vector stencils over raster content
- Snapping behaviors (grid, object, path) to align elements quickly during layout
Machine and Controller Compatibility Within LightBurn Software
LightBurn works with CO2 lasers for cutting and engraving non-metal materials, diode lasers for wood and acrylic engraving, and galvo fiber systems for metal marking. Compatibility depends on the motion controller inside your machine, not the brand sticker on the chassis. LightBurn supports Ruida controllers (common in Chinese CO2 machines), Trocen controllers (also found in mid-range CO2 systems), and GRBL-based boards (standard in most diode and hobby CNC lasers). If your machine uses one of these families, LightBurn can usually talk to it. Older or uncommon controllers might not be supported. Check the LightBurn compatibility list on their site before you buy a license.
Runs on Windows, macOS, and Linux (up to version 1.7, then Linux support ends). Connect your laser via USB cable, Ethernet network, or Wi-Fi if your controller has network capability. Some machines with shaky built-in Wi-Fi benefit from the optional LightBurn Bridge, a small hardware device that plugs into your laser’s USB port and provides stable wireless communication with your computer. Multi-machine users can create separate device profiles inside LightBurn, switching between a CO2 cutter, a diode engraver, and a fiber marker without reconfiguring settings each time.
If you’re running an older laser with a proprietary or no-name controller, LightBurn might not recognize it. You’ll need to stick with the manufacturer’s software or upgrade the controller board to a GRBL or Ruida unit. Most modern machines ship with supported controllers, but it’s worth verifying before you invest in a license and spend time learning the interface.
Laser Cutting and Engraving Setup Using LightBurn

LightBurn organizes cutting and engraving ops using layers, each assigned a unique color, power, speed, and operation mode (line, fill, or image). You draw or import your design, assign shapes to layers, then configure the laser parameters for each layer in the Cuts/Layers panel. Multi-pass cutting lets you set the number of passes, and LightBurn runs the same path multiple times without repositioning. Useful when you need extra depth or clean edges. Kerf offset tools compensate for beam width by shrinking or expanding cut paths, keeping final part dimensions accurate when kerf matters. Cut order optimization reduces travel time by grouping nearby shapes. The Cut Planner offers multiple sorting options (inner-first, outer-first, closest-point) to match your material and project needs.
The Cut Shapes tool splits oversized designs into sections smaller than your bed size, letting you cut large panels using pass-through or repositioning workflows. Tabs and bridges create small gaps in cut lines that hold parts in place until you’re ready to remove them, preventing small pieces from falling through the bed or shifting mid-job. The simulation engine models laser acceleration and deceleration in real time, showing exactly how long the job will take and where the head will slow down on tight corners.
Multi-Pass, Tabs/Bridges, and Kerf Tools
| Feature | Usage Purpose |
|---|---|
| Kerf Offset | Shrinks or expands cut paths to compensate for beam width and maintain part dimensions |
| Tabs and Bridges | Creates small gaps in cut lines to hold parts in place until removal, preventing drops and shifts |
| Multi-Pass Settings | Runs the same path multiple times for deeper cuts or cleaner edges without manual repositioning |
| Cut Shapes | Splits designs larger than the bed into sections for pass-through or manual repositioning workflows |
| Cut Planner Optimization | Sorts shapes by inner-first, outer-first, or closest-point to reduce travel time and improve cut quality |
Image Engraving, Halftone, and Dithering Techniques in LightBurn

LightBurn handles raster engraving with a full set of image processing tools built into the interface. When you import a photo or bitmap, the Adjust Image panel offers brightness, contrast, gamma, and noise reduction controls to clean up scans and improve engraving results. You choose a dithering algorithm (ordered, Jarvis, Stucki, Floyd-Steinberg) to convert grayscale into dot patterns, and LightBurn previews the output so you can see how the pattern will look before sending the job. Scan gap and line interval settings control the resolution and speed tradeoff. Tighter gaps produce finer detail but take longer to engrave.
Flood fill mode changes how the laser moves across the image. Standard raster mode scans left to right, line by line. Flood fill engraves only the dark pixels, jumping over white areas to save time when the image has a lot of empty space. Works well for logos, text, and high-contrast graphics but can produce uneven results on continuous-tone photos. The preview window shows the actual dot pattern and estimated time, letting you compare settings before committing material.
Image masking applies a vector shape as a stencil over the raster layer, hiding everything outside the mask boundary. Useful when you want to engrave a photo inside a circle, star, or custom outline without editing the image file itself. You can combine masked images with vector borders and text in a single multi-layer job, assigning different power and speed to each element.
LightBurn Software Workflow: From Import to Final Cut
A typical LightBurn workflow moves from project creation through setup, preview, and final output in a sequence that matches real production use. Start by planning your design and gathering files, then follow these steps to go from idea to finished part.
Before you load material or fire up the laser, set up your project inside LightBurn:
- Install LightBurn on your Windows, Mac, or Linux computer and launch the application
- Connect your laser cutter to the computer via USB, Ethernet, or Wi-Fi and verify the connection in the Laser panel
- Open LightBurn and create a new project or import an existing design in SVG, AI, PDF, DXF, or bitmap format
- Use the design and editing tools to modify shapes, add text, trace images, or draw new elements directly in the workspace
- Configure laser settings in the Cuts/Layers panel by assigning power, speed, passes, and operation mode (line, fill, image) to each layer
- Run the Preview function to see an animated simulation of the job path, check for errors, and review estimated time
- Send the job to the laser using the Start button, or save it to the machine’s internal memory for later execution
The animated preview is one of LightBurn’s most useful features. Shows the exact tool path with realistic acceleration and deceleration, highlights where the laser will slow down on curves, warns you if part of the design sits outside the bed boundaries. If the simulation reveals problems (shapes in the wrong order, overlapping paths, or a forgotten layer) you fix them before wasting material. The Material Library speeds up setup by storing presets for each stock type, so you select “3mm birch plywood” or “1/8 acrylic” and the software loads saved power, speed, and pass settings.
After previewing and checking settings, hit Start to begin the job. LightBurn streams commands in real time if you’re connected via USB, or transfers the entire file to the machine’s controller if using Ethernet or the machine’s internal memory. Some users prefer to save jobs to a USB stick and run them directly from the laser’s panel, especially for repeat production runs. Either way, the design, settings, and preview all happen inside LightBurn before the laser fires a single pulse.
LightBurn Camera System and Alignment Tools

LightBurn supports camera integration to show a live view of your laser bed inside the software workspace. After mounting a compatible USB camera above the bed, you run a lens calibration routine that corrects for distortion, then perform an alignment process that maps camera pixels to machine coordinates. Once calibrated, the software overlays your design onto the live camera feed, letting you position graphics on scrap material, pre-cut blanks, or irregular stock without measuring and doing math.
The camera view updates as you move shapes in the workspace. You can click points on the camera image to snap your design to specific features on the material. This is especially useful when engraving on items that vary in size or shape (wood slices, leather scraps, fabric remnants) or when adding details to parts that already have cuts or holes. The visual alignment removes guesswork and reduces setup waste, since you see exactly where the laser will mark before starting the job.
Calibration takes about ten minutes the first time, using a printed checkerboard target and a series of alignment marks burned into scrap material. LightBurn walks you through each step, captures images, and calculates the correction values automatically. Once calibrated, the camera stays accurate unless you move it or change the lens, so most users calibrate once per camera and then use the alignment for every project.
Material Libraries, Test Charts, and Preset Management in LightBurn Software
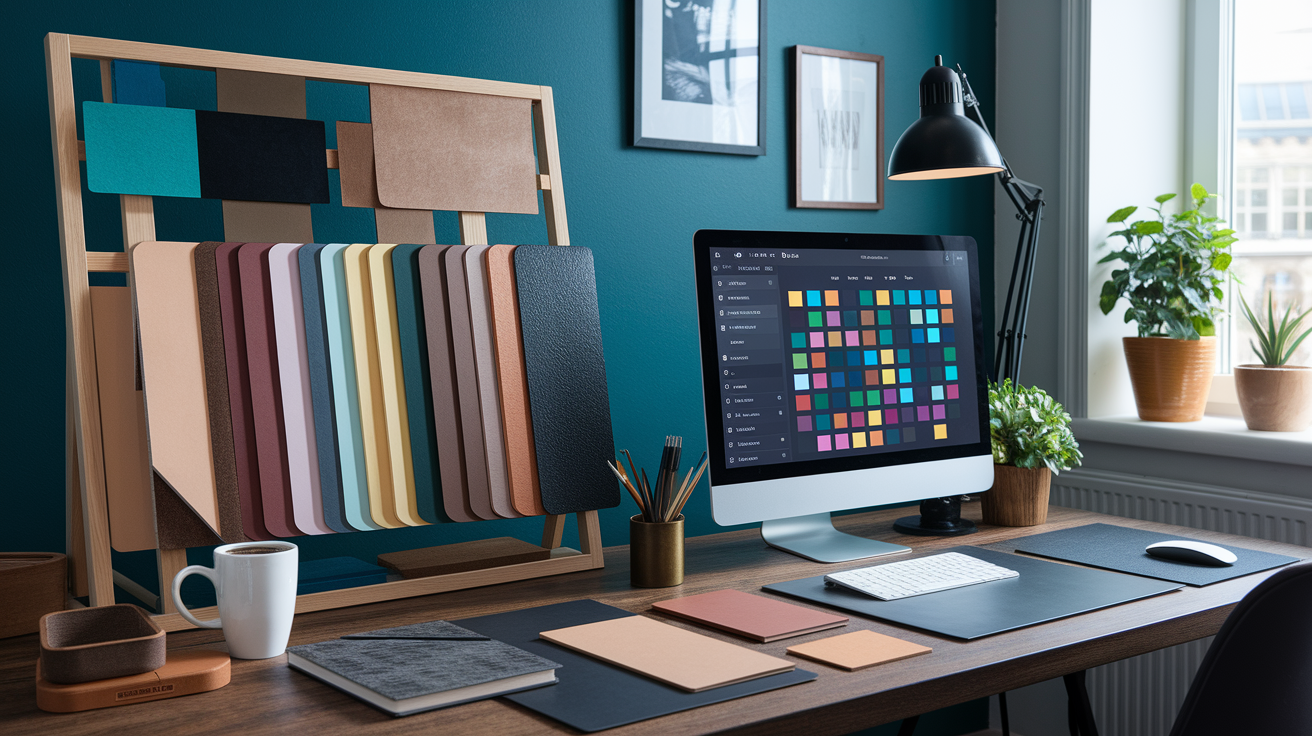
The Material Library in LightBurn stores power, speed, layer assignments, and operation modes for each stock type you use regularly. Instead of remembering that basswood engraves well at 1000 mm/min and 40% power, you create a preset called “3mm basswood engrave,” save those settings, and apply the preset to any project layer with a single click. When you switch to acrylic, cardboard, or leather, you load the corresponding preset and LightBurn updates all the cut parameters automatically. Speeds up job setup and improves consistency, especially when running repeat orders or working with mixed materials in a single project.
Test charts help you dial in settings for new materials. Create a grid of small squares, assign each one a different power or speed combination, and run the chart on a scrap piece. After the laser finishes, inspect the results and note which square produced the best cut depth, edge quality, or engraving tone. Save that combination as a new preset, and you’re ready to run production jobs without more testing. The library syncs across machine profiles, so presets created on your CO2 cutter are available when you switch to your diode engraver, though you’ll likely need different values for each machine and material pairing.
Common preset categories:
- Wood species (birch plywood, MDF, basswood, oak, walnut) with separate cut and engrave settings for each thickness
- Acrylic colors and thicknesses (clear, opaque, mirror-backed) requiring different power due to absorption variation
- Leather types (vegetable tanned, chrome tanned, suede) with engraving and scoring parameters
- Cardstock and cardboard (chipboard, corrugated, matboard) for packaging prototypes and paper crafts
- Fabric (cotton, felt, denim, canvas) with edge-seal settings to prevent fraying during cutting
- Cork, rubber, foam, and other specialty materials used in signage, stamps, and prototyping work
Licensing, Trial, Updates, and Activation for LightBurn

LightBurn offers a 30-day free trial with full feature access so you can test the software on your machine before purchasing. The trial period might feel short if you only use your laser occasionally or need time to learn the interface, but the company sometimes extends trials on request if you contact support. After the trial, a one-time license costs $40 and includes the current version plus access to updates for the first year. After the first year, continued updates are available for an optional annual fee, but your existing version keeps working without subscription pressure. A model many users prefer over monthly or yearly SaaS pricing.
Activation happens locally without dongles or cloud checks, so you can run LightBurn on offline machines or in workshops without reliable internet. The license allows installation on multiple computers as long as only one instance runs at a time, useful for users who work on a shop PC and a home laptop. License transfers are straightforward if you upgrade hardware or change machines, handled through the LightBurn account portal without waiting for support tickets.
Starting with version 1.7, LightBurn ends Linux support, meaning Linux users stay on v1.6 or migrate to Windows or macOS. This affects a small portion of the user base but is worth noting if you run a Linux-based CNC or laser control setup. Windows and macOS users continue to receive regular updates, bug fixes, and new features as they’re released, typically every few months with active community input shaping the roadmap.
Learning LightBurn Software Through Tutorials and Community Resources
LightBurn provides 29+ tutorial videos covering beginner setup through advanced techniques, all embedded on the official documentation site and available for free. Tutorials are organized into feature demonstrations and step-by-step project workflows, so you can watch a five-minute overview of the Cut Planner or follow a fifteen-minute walkthrough on creating WiFi QR code cards. The video series includes machine-specific setup guides for Ortur, SculpFun, and xTool D1 lasers, camera calibration and alignment processes, and complete project examples like rattan weave patterns and welded name designs.
Beyond video tutorials, the LightBurn community forum and official documentation cover troubleshooting, machine compatibility lists, feature requests, and shared project files. The forum is active with both users and developers answering questions, posting tips, and sharing settings. Documentation includes written guides, annotated screenshots, and searchable reference material for every tool and panel in the software. Regular updates mean new features get documented quickly, often within a few days of release.
Common tutorial topics:
- LightBurn basics: interface overview, workspace navigation, and tool location
- Device setup: connecting your machine, configuring controller type, and setting bed size
- Design fundamentals: importing files, creating shapes, text manipulation, and node editing
- Camera calibration: mounting, lens correction, alignment workflow, and live view setup
- Cut Planner usage: optimization modes, cut order logic, and travel time reduction
- Advanced features: Boolean operations, virtual arrays, tabs and bridges, oversized project handling using Cut Shapes, image masking, SHX fonts, and simulation engine interpretation
Final Words
Get your project ready: import, edit, set layer parameters, preview, and send. That’s the core flow we walked through.
We also covered design tools, camera alignment, raster and cut settings, material libraries, compatibility checks, and licensing so you can pick the right settings fast.
With those basics and the tips above, lightburn software will get you from idea to finished cut without guessing. Try a small test cut first. Go make something useful.
FAQ
Q: Is there a free alternative to LightBurn?
A: Free alternatives to LightBurn include LaserGRBL (Windows, GRBL machines) and K40 Whisperer; they handle basic engraving and cutting but lack LightBurn’s integrated editor, camera tools, and advanced previews.
Q: Is LightBurn a one-time purchase?
A: LightBurn is sold as a one-time purchase with a 30-day free trial; base licenses start around $40, and optional paid updates are available annually.
Q: What is the best software for laser engraving?
A: The best software for laser engraving depends on your needs; LightBurn is the go-to for an all-in-one workflow, while Inkscape or Adobe Illustrator plus machine drivers suit advanced vector design.
Q: Is LightBurn a free software?
A: LightBurn is not free; it offers a 30-day full trial but requires buying a license (one-time fee, roughly $40) to keep using all features after the trial.