


Think you can skip installing the JDK and just “run Java” from an IDE? Think again.
The Java Development Kit is the package that turns your machine into a Java development environment: compiler, runtime, libraries, and tools like the debugger and javadoc.
If you want to compile, run, and debug Java or Android code without surprises, the JDK is the first thing to install.
This guide helps you pick the right build, install on Windows, Linux, or macOS, set JAVA_HOME and PATH, and verify everything so you can start coding fast.
Core Overview of the Java Development Kit and What It Includes
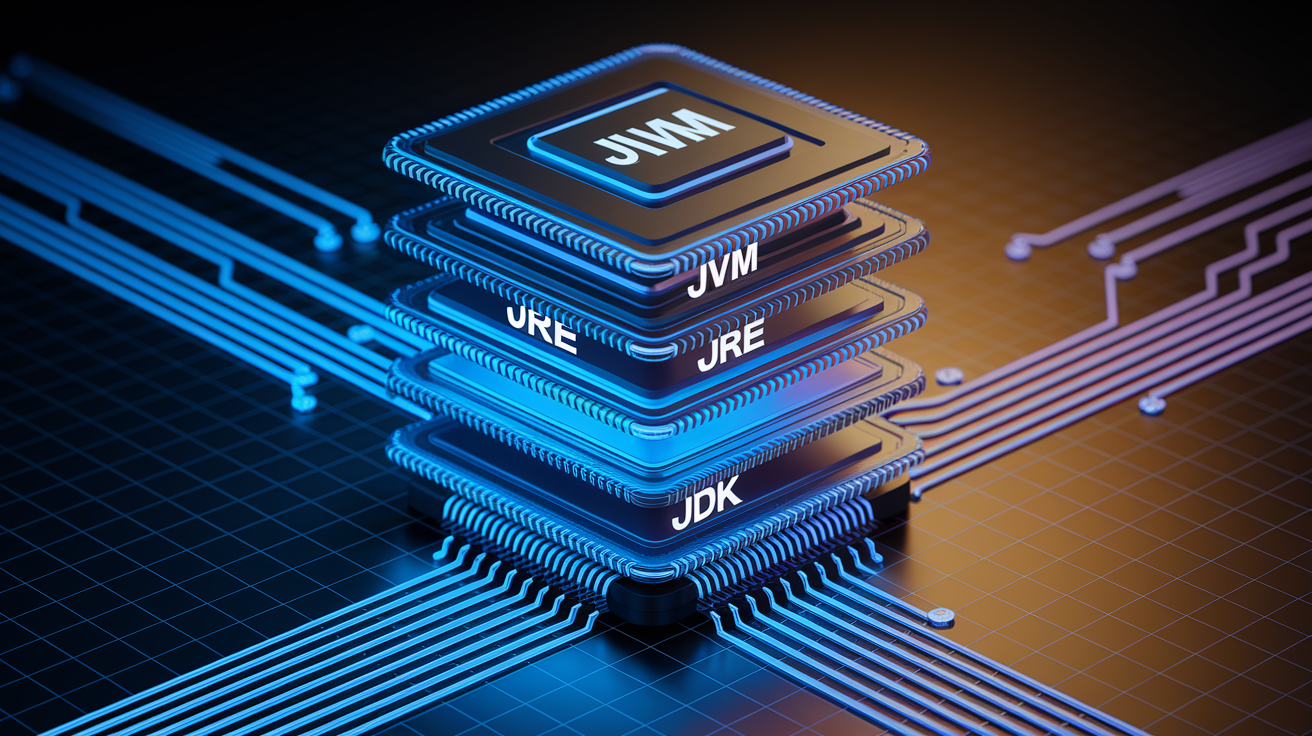
The Java Development Kit is the software package that turns your machine into a Java development environment. It’s both a spec implementation (defining the compiler and standard libraries) and the actual bundle you download and install. When you want to build Java programs or Android apps, the JDK is the first thing you grab.
The JDK sits above the Java Runtime Environment and the Java Virtual Machine in Java’s tech stack. The JVM runs compiled bytecode on any platform. The JRE wraps that JVM with the libraries and files needed to actually run Java applications. The JDK bundles the JRE and adds all the developer tools, so one install gets you the runtime and the build toolkit. Inside you’ll find the javac compiler (turns .java files into .class bytecode), the Java Debugger for stepping through code, javadoc for generating API docs, and jconsole for monitoring apps at runtime.
As of 2025, current releases include JDK 23 (standard edition) and JDK 21 (long-term support). Earlier LTS milestones were Java 8 (March 2014), Java 11 (September 2018), and Java 17 (September 2021). Every JDK ships with the compiler, the runtime, and the full suite of standard libraries covering I/O, networking, database access, collections, concurrency, and more.
Six core components in every JDK:
javac (Java Compiler) compiles .java source into .class bytecode the JVM can execute.
Java Runtime Environment (JRE) provides the libraries and files needed to run compiled programs. On recent releases it lives inside the JDK directory.
Java Virtual Machine (JVM) is the runtime engine that loads, verifies, and executes Java bytecode on any supported platform.
Standard Libraries like java.lang, java.util, java.io, and java.net give you data structures, I/O operations, networking, and database connectivity out of the box.
Debugging Tools (JDB) let you inspect running applications, set breakpoints, and examine variable states from the command line.
Documentation and Monitoring Utilities include javadoc (generates HTML API docs from source comments) and jconsole (monitors JVM memory, threads, and performance in real time).
Download Options and Choosing Between Oracle JDK and OpenJDK Builds
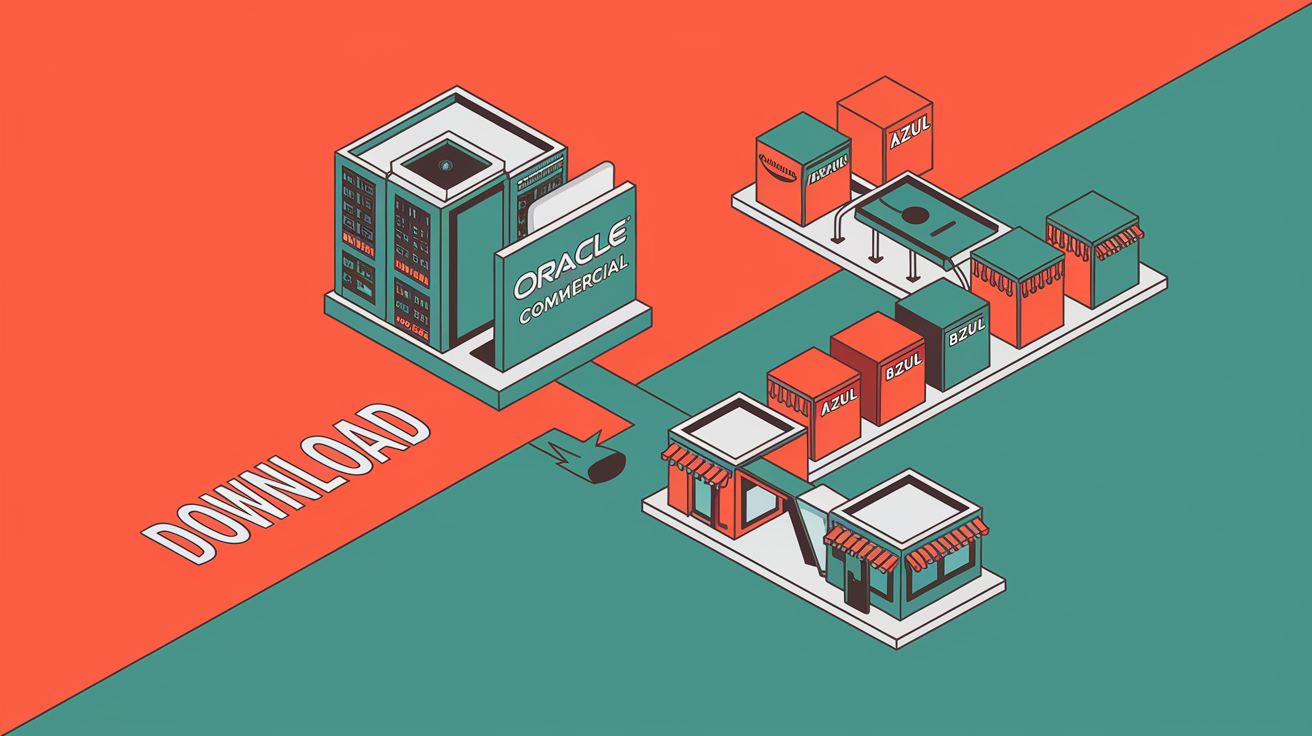
You can download the Java Development Kit from two main sources: Oracle’s official distribution and community-driven OpenJDK builds. Oracle JDK is the reference implementation and ships with commercial support options, but Oracle’s licensing restricts free production use in certain business scenarios. Always review the current license agreement before deploying Oracle builds in a commercial setting. OpenJDK is the open-source base for Java. It’s functionally equivalent to Oracle JDK and freely licensed under GPLv2 with the Classpath Exception, making it safe for business use without fees.
Beyond Oracle and the upstream OpenJDK project, vendors like Amazon Corretto, Azul Zulu, and BellSoft Liberica package and support their own OpenJDK-based distributions. These vendors often add performance patches, extended support windows, and service-level agreements that matter for production deployments. Installer formats vary by platform: Windows users download a .exe file, macOS users get a .pkg or .dmg, and Linux users choose between .deb (Debian/Ubuntu), .rpm (Red Hat/CentOS), or a .tar.gz tarball for manual extraction. Picking the correct file for your OS and architecture (usually x64) saves time and avoids compatibility headaches.
Five factors to weigh when choosing a JDK vendor:
Support duration. How long will the vendor deliver security patches and bug fixes for a given release? LTS releases typically offer multi-year support.
Licensing. Is the distribution free to use in production? Oracle JDK has commercial restrictions. OpenJDK builds are typically GPL-licensed and free for all use.
Binary compatibility. Does the build pass the Java Technology Compatibility Kit tests? TCK-certified builds guarantee compatibility with the Java spec.
Update frequency. How quickly does the vendor release patches after upstream fixes? Faster updates reduce exposure to known vulnerabilities.
Enterprise SLAs. Does the vendor offer paid support contracts with guaranteed response times and uptime commitments? Enterprise teams often require formal SLAs.
Installing the Java Development Kit on Windows Systems

Windows installation uses a graphical .exe installer. For example, a file named jdk-23-windows-x64_bin.exe walks you through setup in a few clicks. The installer defaults to C:\Program Files\Java, creating a folder like jdk-{VERSION} that holds the binaries and libraries. You’ll need administrator privileges to write to Program Files, so right-click the installer and choose “Run as administrator” if prompted. Windows supports JDK installations on versions 7, 8, 8.1, 10, and 11, though Microsoft has officially ended support for Windows 7 and 8. Only use those versions for legacy testing environments.
Unlike Linux and macOS, Windows doesn’t require manual extraction or editing of shell configuration files during the installer flow. The .exe handles directory creation, file copying, and basic registry updates automatically. That said, the installer doesn’t always modify your system’s PATH or set the JAVA_HOME environment variable. Those adjustments are covered in the dedicated environment-variable configuration section later. If you run java -version immediately after installation and see “command not found,” you’ll need to add the JDK’s bin directory to your PATH.
Some Windows-specific quirks: antivirus software occasionally flags the installer as suspicious because it writes to system directories and modifies environment settings, so you may need to temporarily whitelist it. Also, if you’ve previously installed an older JDK, the new installer won’t remove the old version automatically. Both will coexist in separate folders under C:\Program Files\Java, which can cause PATH conflicts if both bin directories are added to the system PATH.
Five steps to install on Windows:
Download the .exe installer matching your Windows architecture (64-bit is standard on modern systems) from your chosen vendor.
Run the installer as administrator by right-clicking the .exe and selecting “Run as administrator.”
Choose the installation path. Accept the default C:\Program Files\Java\jdk-{VERSION} unless you have a specific reason to change it.
Finish the installation by clicking through the remaining prompts. The installer will copy all files and create the JDK directory structure.
Verify the installation using the commands in the verification section later. Run java -version or javac -version at a command prompt to confirm the tools are accessible.
Installing the Java Development Kit on Linux Distributions
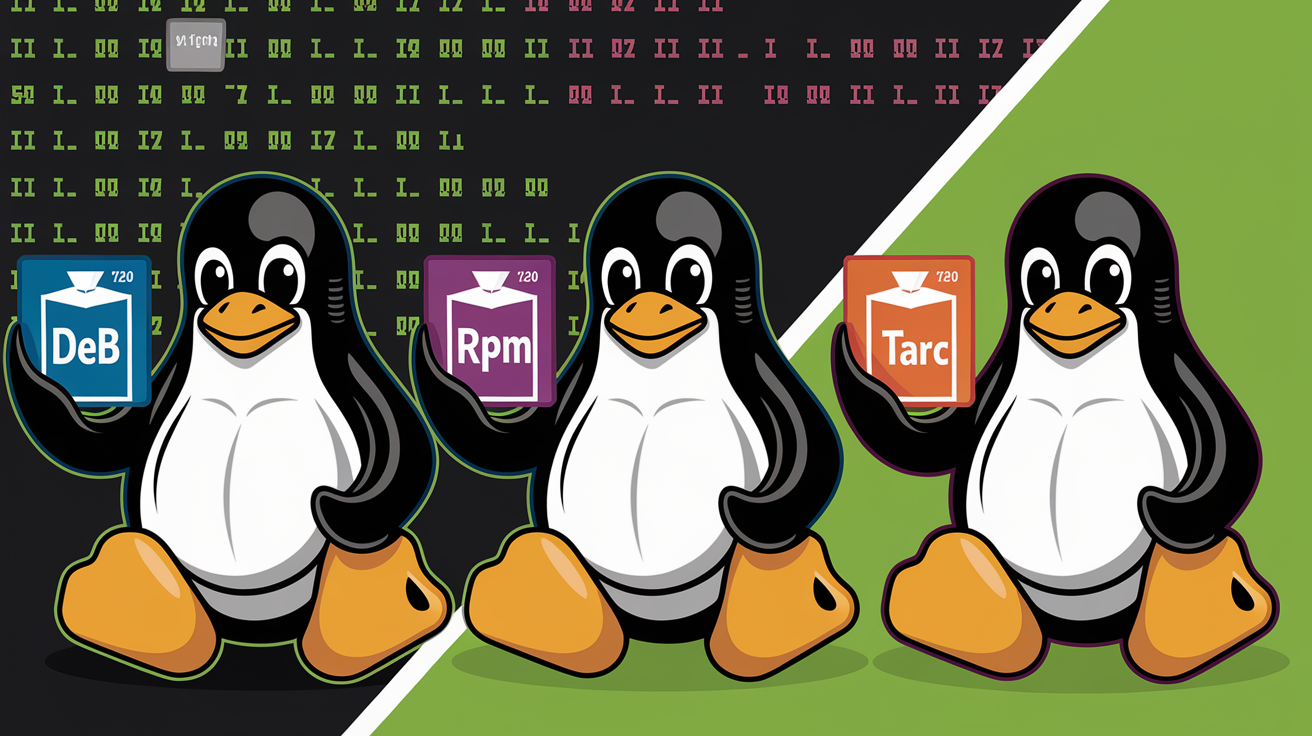
Linux installation methods vary by distribution and package format. Debian-based systems (Ubuntu, Linux Mint, Kali) typically use .deb packages installed with dpkg, while Red Hat-based systems (Fedora, CentOS, RHEL) use .rpm packages installed with rpm or yum. For distributions without a native package or when you need precise control over the install location, a .tar.gz tarball lets you manually extract the JDK to any directory, commonly /opt/jdk-XX. After extracting a tarball, you’ll use Linux’s update-alternatives system to register the new java and javac binaries so the operating system knows which version to use when multiple JDKs are installed.
Environment-variable configuration (setting JAVA_HOME and updating PATH) is detailed in the cross-platform configuration section further down. For now, focus on getting the package installed and registered with your system. On Debian and Ubuntu, running sudo apt-get -f install after dpkg -i resolves any missing dependencies automatically. On Red Hat and CentOS, the rpm command handles dependencies during installation, though you may need to install additional libraries if the RPM lists unmet requirements.
Six steps for Linux installation:
Download the appropriate package for your distribution. .deb for Debian/Ubuntu, .rpm for Red Hat/CentOS, or .tar.gz for manual install.
Install the package using the command that matches your file type (see the table below for exact syntax).
Resolve dependencies by running sudo apt-get -f install on Debian-based systems or checking rpm output for missing libraries on Red Hat systems.
Register alternatives (if using tarball or manual install) by running sudo update-alternatives –install commands to link /usr/bin/java and /usr/bin/javac to your new JDK binaries.
Verify using version commands. Run java -version and javac -version to confirm the correct version is active.
Handle distribution-specific quirks. Some distributions ship with OpenJDK pre-installed. Use update-alternatives –config java to switch between installed versions.
| OS Family | Command Example |
|---|---|
| Debian/Ubuntu (.deb) | sudo dpkg -i jdk-{VERSION}_linux-x64_bin.deb |
| Red Hat/CentOS (.rpm) | sudo rpm -ivh jdk-{VERSION}_linux-x64_bin.rpm |
| Manual (tarball) | tar -xvzf jdk-{VERSION}_linux-x64_bin.tar.gz && sudo mv jdk-{VERSION} /opt/ |
Setting Up the Java Development Kit on macOS
macOS uses .pkg installers that integrate with the system’s Java framework, placing the JDK in /Library/Java/JavaVirtualMachines/. The installer handles extraction, directory creation, and basic system registration automatically. macOS versions from Mojave through Sequoia (the latest as of 2025) all support recent JDK releases, though you should always check the vendor’s compatibility notes if you’re running an older macOS build or a beta release.
Double-click the downloaded .pkg file and follow the on-screen prompts. The installer will ask for your administrator password to write to system directories. Unlike Windows, macOS doesn’t require manually adjusting the PATH in most cases because the system maintains a /usr/bin/java wrapper that automatically points to the highest-priority JDK installed in JavaVirtualMachines. However, you may still want to set JAVAHOME in your shell configuration file for tools and scripts that rely on that variable. Full instructions for configuring JAVAHOME and PATH are covered in the dedicated environment-variable section.
One macOS-specific consideration: if you install multiple JDK versions, the system will default to the most recently installed one unless you explicitly change the priority order. You can query which JDK the system is using with /usr/libexec/java_home, and you can pass a version flag like -v 21 to retrieve the path to a specific release.
Four macOS installation steps:
Download the .pkg installer for macOS from your chosen vendor, ensuring you select the correct architecture (Intel x64 or Apple Silicon arm64).
Run the installer by double-clicking the .pkg file and entering your administrator password when prompted.
Confirm the installation directory by opening Terminal and running /usr/libexec/java_home to see the path to the default JDK, typically /Library/Java/JavaVirtualMachines/jdk-{VERSION}.jdk/Contents/Home.
Verify using system java tools. Run java -version in Terminal to confirm the version matches what you just installed.
Verifying Java Development Kit Installation and Basic Command Usage

After installation, run java -version or java –version at a command prompt or terminal to confirm the JDK is accessible. You should see output showing the version number, vendor name, and build details, something like “openjdk 21.0.1 2023-10-17” or “java version 23”. If the command isn’t found, the JDK’s bin directory isn’t in your system PATH. Refer to the environment-variable configuration section to fix that. Running javac -version or javac –version verifies the compiler is also available. Both commands should report the same version number.
Once you’ve confirmed the tools are accessible, the fastest way to test the full toolchain is to compile and run a simple Java program. The typical workflow is: write a .java source file, compile it with javac to produce a .class bytecode file, then run that class with the java command. For quick experiments without creating files, use jshell, a REPL (read-eval-print loop) introduced in Java 9 that lets you type Java expressions and see results immediately. To package compiled classes into a .jar archive, use the jar tool. To run a program from a .jar, add it to the classpath with the -cp flag.
Key Java Tools: java, javac, jar, jshell
java is the Java application launcher. It executes compiled .class files or .jar archives. Pass -version to check the installed runtime version.
javac is the Java compiler. It transforms .java source files into .class bytecode. Located in the JDK’s bin directory.
jar archives multiple .class files and resources into a single .jar file. Use jar cf intro.jar *.class to create an archive, then java -cp intro.jar MainClass to run it.
jshell is an interactive shell for testing Java snippets without writing a full program. Type jshell at the command line and start entering Java statements.
Six steps to compile and run a test program:
Create a source file named Intro.java with a simple main method. For example, “public class Intro { public static void main(String[] args) { System.out.println(\”Hello\”); } }”.
Compile by running javac Intro.java. This produces Intro.class (bytecode) in the same directory.
Run by executing java Intro (omit the .class extension). You should see “Hello” printed to the console.
Create a JAR by running jar cf intro.jar Intro.class to package the bytecode into an archive named intro.jar.
Run from the JAR with java -cp intro.jar Intro. The -cp flag adds intro.jar to the classpath so the JVM can find the class.
Test with jshell by typing jshell and entering a statement like System.out.println(“test”);. Press Enter and you’ll see “test” immediately, confirming the runtime works.
Comparing Long-Term Support Java Development Kit Releases and Upgrade Planning
Java uses a six-month release cadence, but not every release receives long-term support. LTS versions get security updates and bug fixes for several years, making them the safe choice for production systems that need stable, predictable maintenance. As of 2025, the recognized LTS releases are Java 8 (released March 2014), Java 11 (September 2018), Java 17 (September 2021), and Java 21 (September 2023). Java 23, the most recent standard release, follows the six-month cycle and will receive updates until the next release, but it’s not an LTS version. Teams building long-lived applications typically stick to LTS releases.
Java maintains strong backward compatibility, so applications written for Java 8 generally run on Java 11, 17, or 21 without modification. That said, newer JDKs deprecate or remove certain APIs and introduce stricter module-system enforcement, so thorough testing is required before upgrading production systems. Vendor support timelines matter. Oracle and most OpenJDK vendors commit to patching LTS releases for at least three years, with some offering extended support contracts that stretch to eight years or more.
When planning upgrades, prioritize moving off end-of-life versions (Java 8 public updates ended in 2019 for Oracle’s free distribution) and onto a current LTS release. Java 17 and Java 21 offer the best balance of modern language features, performance improvements (especially in garbage collection and startup time), and long-term security patch availability. If you’re starting a new project, pick the latest LTS unless you have a specific dependency that requires an older version.
| Version | Release Year | LTS? | Notes |
|---|---|---|---|
| Java 8 | 2014 | Yes | Introduced lambdas and streams; widely deployed but nearing end of extended support from most vendors. |
| Java 11 | 2018 | Yes | First LTS after the new release cadence; removed Java EE modules, introduced new HTTP client. |
| Java 17 | 2021 | Yes | Sealed classes, pattern matching improvements, strong encapsulation of JDK internals by default. |
| Java 21 | 2023 | Yes | Virtual threads, pattern matching for switch, sequenced collections; current recommended LTS for new projects. |
Configuring Java Development Kit Environment Variables Across All Platforms
Two environment variables control how your operating system and development tools locate the JDK: JAVAHOME and PATH. JAVAHOME points to the root directory of your JDK installation. For example, C:\Program Files\Java\jdk-21 on Windows or /Library/Java/JavaVirtualMachines/jdk-21.jdk/Contents/Home on macOS. Tools like Maven, Gradle, and many IDEs read JAVA_HOME to find the compiler and runtime libraries. PATH must include the JDK’s bin directory (like C:\Program Files\Java\jdk-21\bin or /opt/jdk-21/bin) so that typing java or javac at a command prompt finds the executables without requiring a full path.
The high-level steps are the same across all platforms: locate your JDK installation directory, set JAVAHOME to that directory, append the bin subdirectory to PATH, then reload your shell or system configuration so the changes take effect. On Windows you’ll edit system environment variables through the Control Panel or Settings app. On Linux and macOS you’ll export variables in shell configuration files like .bashrc, .bashprofile, .zshrc, or a system-wide file like /etc/environment. After editing, run source on the file (Linux/macOS) or restart your command prompt (Windows) to apply the changes.
Misconfigured PATH and JAVA_HOME are the most common causes of “java command not found” errors or version mismatches where java -version reports an unexpected JDK. If you’ve installed multiple JDK versions, make sure the PATH lists the correct bin directory first. Operating systems search PATH entries in order and stop at the first match. On Linux, the update-alternatives system can override PATH settings, so verify with update-alternatives –config java if you’re seeing the wrong version.
Five platform differences to keep in mind:
Windows environment variables are edited through “Edit the system environment variables” → Advanced → Environment Variables. You’ll add a new system variable for JAVA_HOME and edit the Path variable to append the bin directory. Changes apply system-wide after clicking OK, but open command prompts won’t see the new values until you restart them.
Linux system-wide configuration typically lives in /etc/environment or /etc/profile. User-specific configuration goes in ~/.bashrc or ~/.bashprofile. After editing, run source /etc/environment or source ~/.bashrc to apply changes in the current shell. Add export JAVAHOME=/opt/jdk-21 and export PATH=$JAVA_HOME/bin:$PATH as two separate lines.
macOS shell configuration varies by macOS version. Catalina and later default to zsh, so edit ~/.zshrc. Earlier versions used bash, so edit ~/.bashprofile. Use export JAVAHOME=$(/usr/libexec/javahome) to dynamically set JAVAHOME to the system’s default JDK, or hardcode a path like /Library/Java/JavaVirtualMachines/jdk-21.jdk/Contents/Home. Add export PATH=$JAVA_HOME/bin:$PATH on the next line.
Multiple JDK installations require careful PATH ordering. Place the bin directory of your preferred JDK first in PATH. On Linux, use update-alternatives –config java to select the default system JDK, which overrides PATH for the java command but not necessarily for javac or other tools. You may need separate update-alternatives entries for javac and jar.
Verification and refresh steps differ: Windows users must close and reopen Command Prompt or PowerShell; Linux and macOS users must run source on the edited file or open a new terminal session. Always run echo $JAVAHOME (Linux/macOS) or echo %JAVAHOME% (Windows Command Prompt) to confirm the variable is set, and run java -version and javac -version to confirm both tools report the expected version.
Troubleshooting Java Development Kit Installation Problems

When java -version returns “command not found” or an unexpected version, start by checking your PATH. On Windows, open a new Command Prompt and run echo %PATH% to see all directories in the PATH variable. Look for an entry ending in \bin inside your JDK folder. On Linux and macOS, run echo $PATH and verify a jdk-XX/bin directory appears. If it’s missing, revisit the environment-variable configuration section and double-check that you’ve added the correct bin path and reloaded your shell or terminal.
If the PATH is correct but the wrong JDK version appears, you likely have multiple JDKs installed and the PATH lists an older bin directory first. On Linux, the update-alternatives system might be overriding your PATH. Run sudo update-alternatives –config java to see all registered versions and select the one you want as the default. On macOS, /usr/libexec/javahome -V lists all installed JDKs. If the wrong one is active, either adjust the JAVAHOME export in your shell profile or remove old JDK directories from /Library/Java/JavaVirtualMachines/. On Windows, edit the Path variable and reorder entries so the correct JDK bin directory appears before any others, or remove obsolete entries entirely.
Six troubleshooting checks:
Verify JAVAHOME is set by running echo $JAVAHOME (Linux/macOS) or echo %JAVA_HOME% (Windows). It should print the full path to your JDK root directory, not the bin subdirectory.
Confirm PATH includes the bin directory by running echo $PATH (Linux/macOS) or echo %PATH% (Windows) and searching the output for a path ending in jdk-XX/bin or jdk-XX\bin.
Check for multiple JDK installations by listing the contents of C:\Program Files\Java (Windows), /Library/Java/JavaVirtualMachines/ (macOS), or /usr/lib/jvm (Linux). If you see multiple versions, ensure your PATH points to the one you intend to use.
Run update-alternatives on Linux with sudo update-alternatives –config java and sudo update-alternatives –config javac to see which JDK is registered as the system default. Select the correct entry if the current one is wrong.
Resolve missing dependencies on Debian/Ubuntu by running sudo apt-get -f install after dpkg -i. This auto-installs any libraries the JDK package requires.
Reload shell configuration by running source ~/.bashrc (or the appropriate file for your shell) on Linux/macOS, or by closing and reopening Command Prompt/PowerShell on Windows. Environment-variable changes don’t take effect in existing sessions until you reload or restart.
Final Words
You’ve got a clear map: what the JDK contains (javac, JRE/JVM, libraries, and tools), where to grab builds, and how to install on Windows, Linux, and macOS.
You also saw quick verification steps (java, javac, jshell), how to set JAVA_HOME and PATH, and how to think about LTS upgrades and vendor choices.
Treat this as a practical checklist for the java development kit—install, verify, and patch as needed. Small upkeep now means fewer late-night fixes and more time writing code.
FAQ
Q: What is the Java Development Kit?
A: The Java Development Kit (JDK) is the developer kit that implements the Java platform spec: compiler (javac), JRE/JVM, standard libraries, debugger (jdb), and tools like javadoc and jconsole.
Q: Is Java Development Kit free?
A: The Java Development Kit is available free as OpenJDK builds; Oracle’s official builds are free for personal and development use but may require a paid license for commercial production.
Q: Can I delete Java tm se development kit?
A: You can remove the Java SE Development Kit; uninstall it with your OS tools (Add/Remove Programs, apt, rpm, or delete the bundle). Remember this stops compiling or running Java until you reinstall or fix PATH/JAVA_HOME.
Q: What is the difference between Java and Java Development Kit?
A: The difference between Java and the Java Development Kit is that “Java” usually means the language and runtime (JVM/JRE), while the JDK adds developer tools like the compiler (javac), libraries, and debuggers.