

Think a passing build means no vulnerable libraries? Think again.
OWASP Dependency-Check doesn’t run your code; it reads manifests, binaries, and metadata, then builds standardized CPE labels to compare against the NVD and advisory feeds.
It also uses hash matching and evidence weighting to cut false positives and surface transitive risks you won’t see in tests.
This post breaks down the pipeline, what analyzers extract, how CPEs and hashes are matched, common gotchas, and how to read the final report so you can triage and fix what matters first.
Core Workflow Behind OWASP Dependency‑Check

OWASP Dependency‑Check runs a pipeline that turns your project files into a searchable dependency list, then checks each one against known vulnerability records. It doesn’t run your code or test anything at runtime. It just reads static files: config manifests (pom.xml, package.json, requirements.txt), compiled binaries, embedded metadata.
Analyzers pull out evidence for each ecosystem. Names, versions, vendor strings, artifact coordinates, file hashes. The engine takes that evidence and builds Common Platform Enumeration identifiers (CPE), which are standardized labels that look like cpe:/a:vendor:product:version. Those get stored in a local Lucene index for fast lookups.
Then the scanner grabs the National Vulnerability Database feed. The NVD has over 500,000 vulnerability reports maintained by NIST. Your dependency CPEs get compared to CVE entries. When there’s a match, the tool adds CVSS severity scores and other metadata, then spits out an HTML or XML report showing every vulnerable component.
Seven steps make it happen:
Step 1: Collect evidence from code, config files, and dependency metadata.
Step 2: Figure out CPE identifiers by mapping vendor, product, and version into standard format.
Step 3: Store everything in a Lucene index so repeated scans run faster.
Step 4: Compare your CPEs to CVE entries in the National Vulnerability Database.
Step 5: Flag vulnerable dependencies when CPE strings match known CVE records.
Step 6: Add severity data like CVSS scores and assign priority.
Step 7: Generate reports in HTML or XML, listing affected dependencies, CVE IDs, and fix guidance.
Each step builds on the last. If evidence collection misses a transitive dependency or CPE mapping gets fuzzy, the final report can have gaps or wrong matches. Most scans finish in under seven minutes for mid-sized projects. Large monorepos with thousands of transitive deps take longer because of deep manifest parsing and the size of the NVD feed.
Architecture and Components Powering OWASP Dependency‑Check
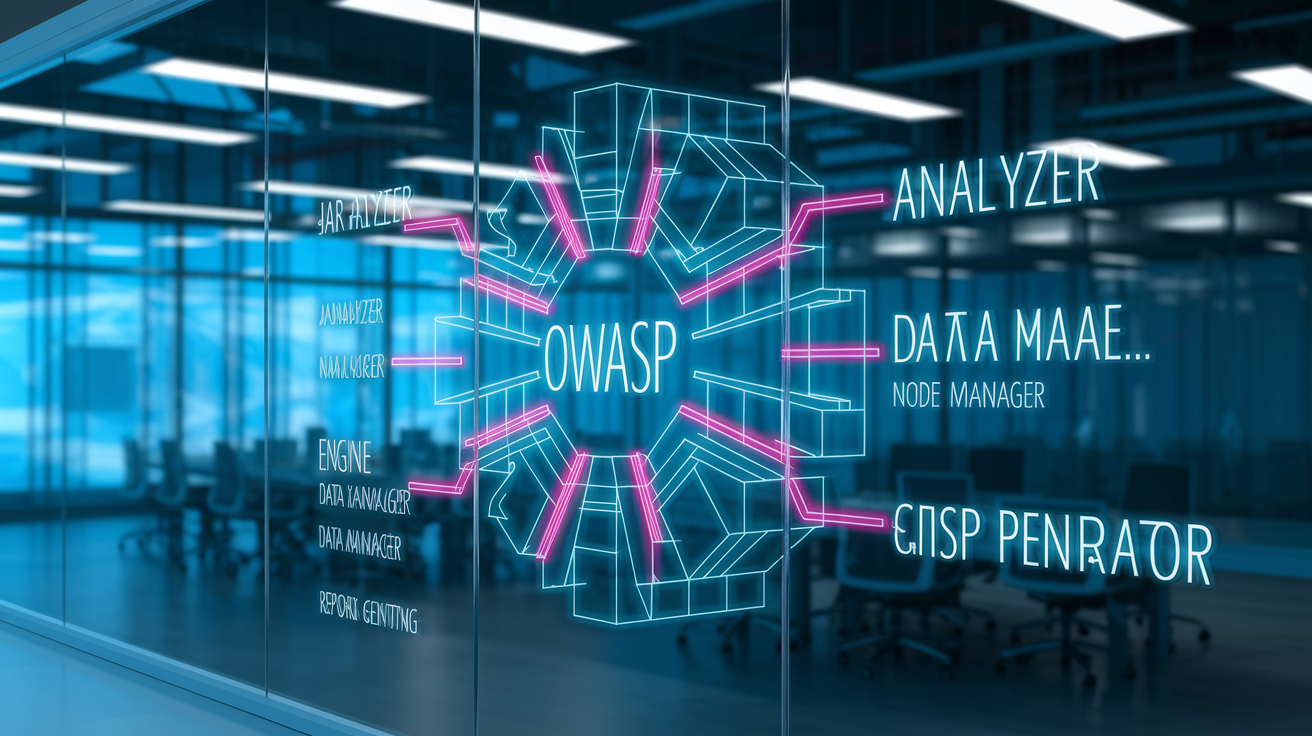
Four core subsystems run the show. Up front, multiple analyzers each know how to parse one or more ecosystems. JarAnalyzer handles Java archives, the Node/NPM analyzer reads package.json and node_modules, the NuGet analyzer processes .NET assembly manifests. Analyzers run in parallel during evidence collection, extracting metadata and computing fingerprints.
Behind them, the engine consolidates evidence into a unified dependency graph and maps CPE identifiers. A data manager downloads and caches NVD/CVE feeds locally so you don’t re-download gigabytes every scan. The Lucene index stores CPEs, file hashes, and evidence snippets for quick lookups. The report generator takes matched vulnerability records and renders them into HTML, XML, JSON, or CSV.
It’s modular. If you only scan .NET projects, the Ruby and PHP analyzers sit idle. If you skip experimental feeds, the data manager ignores them. Keeps memory reasonable and lets the community add new analyzers without rewriting the core engine.
Major pieces:
Analyzers (JarAnalyzer, Node/NPM analyzer, NuGet analyzer) for pulling out evidence.
Engine for CPE/PURL generation, dependency graph resolution, evidence consolidation.
Data manager to download, cache, and update NVD/CVE feeds and supplemental advisories.
Report generator to format findings into HTML, XML, JSON, or CSV files.
Dependency Discovery and Evidence Collection in OWASP Dependency‑Check

Discovery starts with a recursive scan of your project directory. It hunts for known artifact types: JAR files, package.json, node_modules folders, .csproj files, requirements.txt, composer.json. Each analyzer registers file patterns or directory structures it recognizes. The engine routes each artifact to the right parser.
Direct dependencies are easy. They show up in your manifest. Transitive dependencies need deeper digging: the Node analyzer walks node_modules, the Maven analyzer parses embedded POM files inside JARs, the NuGet analyzer reads .deps.json or assembly metadata.
Evidence weighting improves accuracy when multiple signals point to the same dependency. If the scanner finds a groupId, artifactId, and version in a POM, plus a matching SHA-256 hash in a known registry, it assigns high confidence to that CPE mapping. If it only has a vague filename like “commons-3.jar,” confidence drops and the report flags that dependency with a lower Evidence Count.
CPE Confidence scores show how many independent pieces of metadata back up the identity of a package. Transitive dependencies often don’t have explicit version declarations in your top-level manifest, so the tool rebuilds the dependency tree by reading lock files (package-lock.json, yarn.lock, Gemfile.lock), resolved assembly references, or nested POM hierarchies.
Each piece of evidence gets stored with a weight. Vendor name, product name, version string, file hash, PURL (Package URL). High-weight evidence beats ambiguous clues, cutting false matches when two libraries share a common prefix or similar names.
Vulnerability Matching: CPE, CVE, and Hash‑Based Identification

CPE matching is the main technique. Once the tool generates a CPE identifier for a dependency, it queries the local NVD feed for any CVE record listing that CPE as an affected product. The NVD uses structured CPE 2.3 format, so a match needs vendor, product, and version to line up. If a CVE entry says “cpe:/a:fasterxml:jackson-databind:2.9.8 is vulnerable” and your project uses jackson-databind 2.9.8, you get a hit.
Hash-based fingerprinting adds another layer. It compares the SHA-1 or SHA-256 checksum of a binary artifact against known vulnerable hashes from advisory feeds or artifact registries. Catches repackaged or renamed libraries that don’t have clear metadata.
Manifest evidence (groupId/artifactId from Maven, name/version from package.json) serves as a fallback when file hashes aren’t around and CPE derivation is fuzzy. The scanner blends all three signals and uses evidence weighting to decide if a match is solid or needs manual review.
| Technique | Description | Strengths |
|---|---|---|
| CPE matching | Compares derived CPE identifiers (vendor:product:version) to NVD CVE entries. | Standard, widely adopted; covers most published CVEs. |
| Hash matching | Computes SHA-1/SHA-256 of binaries and compares to known vulnerable artifact fingerprints. | Catches renamed or repackaged libraries; immune to metadata tampering. |
| Manifest evidence | Parses groupId/artifactId (Maven), name/version (NPM), or assembly metadata (.NET). | Direct and fast; works when binaries are unavailable or checksums missing. |
False positives happen when CPE mapping is too broad. Mapping “commons-io” to multiple Apache projects, for example. Or when the NVD lists a CVE range that doesn’t actually apply to your build configuration.
Evidence weighting cuts down the noise. A dependency with Evidence Count of 8 and CPE Confidence “HIGH” is way more trustworthy than one with Evidence Count of 2 and “MEDIUM” confidence. CVSS scoring lets you filter findings by severity, so you can skip informational or low-severity CVEs during triage and focus on CVSS ≥ 7.0 vulnerabilities first.
Supported Package Ecosystems and Analyzer Coverage

OWASP Dependency‑Check has full, first-class support for Java (Maven, Gradle), Node.js (npm, Yarn), and .NET (NuGet). These ecosystems have mature analyzers that parse lock files, resolve transitive trees, and pull rich metadata from package registries.
Java scanning reads pom.xml, embedded POMs from JAR manifests, and cross-references artifact coordinates against Maven Central hashes. Node.js scanning walks package.json and node_modules, checks package-lock.json for pinned versions, and queries the NPM Audit API for known advisories. .NET scanning processes .csproj files, .deps.json descriptors, and assembly metadata to map NuGet packages to CPEs.
Beyond the core three, the tool offers experimental or community-maintained analyzers for Python (pip, requirements.txt), Ruby (Bundler, Gemfile.lock), PHP (Composer, composer.json), Go modules (go.mod, go.sum), and SBT/Scala projects. Experimental analyzers can have lower evidence quality or incomplete transitive resolution, so you’ll see more “MEDIUM” confidence findings and might need to cross-check results with ecosystem-specific tools.
Major ecosystems:
Java (Maven, Gradle). JAR inspection, POM parsing, artifact coordinate resolution.
Node.js (npm, Yarn). package.json, package-lock.json, node_modules tree walking, NPM Audit API.
.NET (NuGet). .csproj, .deps.json, assembly references, OSS Index integration.
Python (pip). requirements.txt parsing, limited transitive resolution.
Ruby (Bundler). Gemfile.lock reading, Bundler Audit feed.
PHP (Composer). composer.json and composer.lock inspection.
Analyzer differences matter. Java analyzers can pull groupId/artifactId/version from embedded POM files inside shaded JARs. Python analyzers rely on top-level requirements.txt and might miss nested dependencies installed by setup.py.
Feed variations affect coverage too. NVD has comprehensive CVE records for mainstream Java and JavaScript libraries. Emerging or niche ecosystems might have sparser CVE data, leading to false negatives where real vulnerabilities exist but haven’t been cataloged yet.
OWASP Dependency‑Check Report Formats and Key Fields
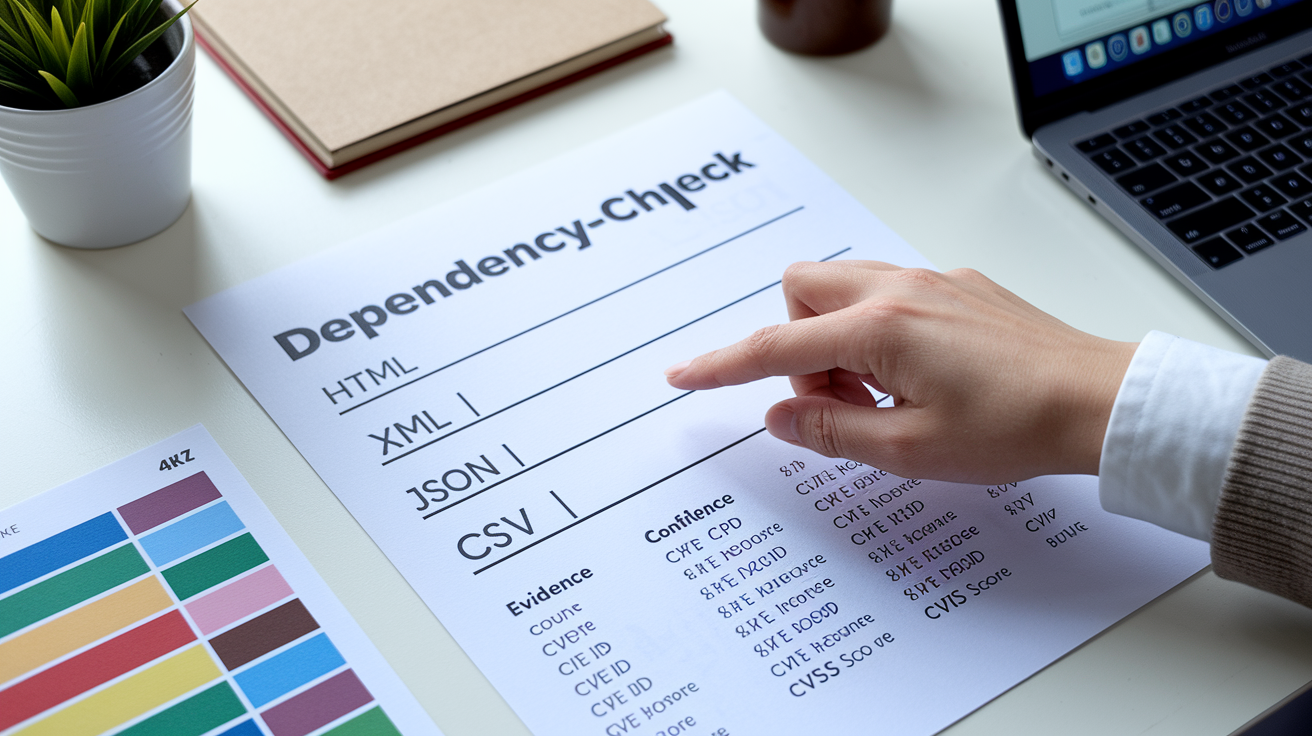
Reports come in four formats: HTML for human review, XML for parsing by other tools, JSON for CI/CD automation, CSV for spreadsheet analysis. The HTML report is the most common starting point. It groups findings by dependency, lists matched CVE IDs, displays CVSS scores, and links to NVD entries for full advisory details.
Each dependency appears once in the report, even if it’s referenced in multiple modules or used as a transitive dependency in several places. If you need to trace every occurrence, cross-reference the dependency name against your build tool’s dependency tree output.
Key fields to check:
Evidence Count shows how many metadata signals fed the CPE mapping.
CPE Confidence rates the reliability of that mapping as HIGH, MEDIUM, or LOW.
A finding with Evidence Count of 1 and MEDIUM confidence is way more likely to be a false positive than one with Evidence Count of 10 and HIGH confidence. The report also shows the matched CVE ID (CVE-2023-12345, for example), a CVSS score (0.0 to 10.0), a severity label (CRITICAL, HIGH, MEDIUM, LOW, INFORMATIONAL), a description of the vulnerability, and references to patches or workarounds.
Severity prioritization is simple. Filter by CVSS first, then by CPE Confidence. A CRITICAL vulnerability with HIGH confidence needs immediate action. A MEDIUM vulnerability with LOW confidence might need investigation but could turn out to be a mismatch.
Common report caveats: contextual irrelevance (just because a CVE exists doesn’t mean your application exercises the vulnerable code path) and version-range ambiguity (the NVD lists a broad range and you need to manually verify whether your specific patch level is actually affected). Always check Evidence Count and confidence before escalating a finding to your security team or opening a ticket.
Integration of OWASP Dependency‑Check Into CI/CD Pipelines

Running the scanner in CI turns it from an ad-hoc audit into a continuous gate. Most common pattern: add a build step that invokes the CLI or Maven/Gradle plugin, scans the project, and fails the build if any vulnerabilities exceed a defined CVSS threshold (typically 7.0 for HIGH or CRITICAL findings).
Suppression files let you silence known false positives or accepted risks by CVE ID or CPE pattern, so your pipeline doesn’t fail on every scan after you’ve triaged and documented a finding.
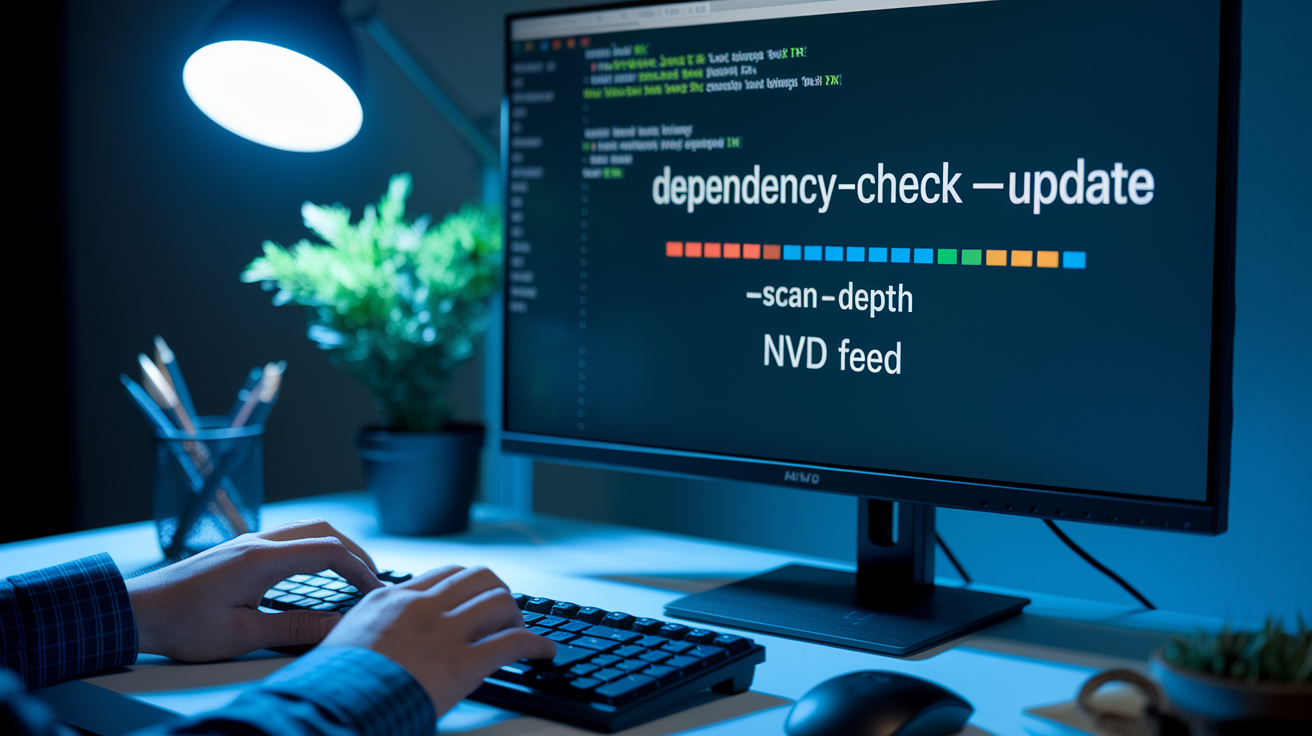
Automatic NVD feed updates keep the local vulnerability database fresh. In Jenkins or GitLab CI, schedule a nightly job to run dependency-check –updateonly so the next developer commit pulls the latest CVE records without waiting for a slow initial download.
Baseline inventories (snapshots of your dependency graph at release time) help you track drift and spot new transitive dependencies introduced by routine updates. Issue-tracker integration routes findings into Jira, GitHub Issues, or ServiceNow tickets, ensuring remediation work gets prioritized alongside feature development.
Typical CI workflow:
- Trigger on commit or scheduled build. Run the scan automatically on every merge to main or on a nightly schedule.
- Execute dependency-check CLI or plugin. Scan the workspace directory and generate a report in JSON or XML format.
- Parse the report and count findings. Filter by CVSS threshold (count vulnerabilities with CVSS ≥ 7.0, for example).
- Apply suppression rules. Load a suppression XML file that excludes known false positives or accepted risks.
- Fail or warn the build. Exit non-zero if the count exceeds policy, or post a warning comment to the pull request without blocking merge.
Most teams start with “warn only” mode to establish a baseline, then gradually tighten the threshold to enforce blocking on new HIGH/CRITICAL findings. Use environment-specific suppression files (one for dev, one for production) so you can be lenient during prototyping and strict when cutting a release. Keep the tool and feed updated. An outdated NVD cache misses recent CVEs, and an old version of Dependency‑Check might lack analyzers for newer package managers.
Practical CLI Scanning Workflow With OWASP Dependency‑Check
To run a CLI scan, first download and extract the Command Line zip from the official releases page. Inside the bin directory, you’ll find dependency-check.sh (or .bat on Windows). The tool needs a Java runtime on your machine. Install OpenJDK 11 or later if you don’t have one.
Navigate to your project root and run the scan with a command like bash /path/to/dependency-check.sh --project test --scan /path/to/your/project.
The scanner walks the directory tree, fires up the appropriate analyzers, and writes dependency-check-report.html to the current directory by default. You can change the output location with –out ./reports and pick a different format with –format JSON.
If it’s your first scan, the tool will download the NVD feed. That can take several minutes and eat a few gigabytes of bandwidth. Later scans reuse the cached feed unless you run –updateonly to refresh it.
Useful flags:
--project <name> sets a human-readable project identifier in the report header.
--scan <path> specifies the directory or file to analyze.
--format <HTML|XML|JSON|CSV> selects the output format (default is HTML).
--out <directory> defines where to write the report file.
Exit codes help automation. The scanner returns 0 if no vulnerabilities are found or if all findings are below your threshold, and non-zero (typically 1) if it discovers vulnerabilities that exceed the configured severity level. You can set a failure threshold with –failOnCVSS 7.0 so the process exits with code 1 whenever a CVSS score of 7.0 or higher shows up. Zero means pass, non-zero means review and fix.
Handling False Positives, Suppression Files, and Policy Rules
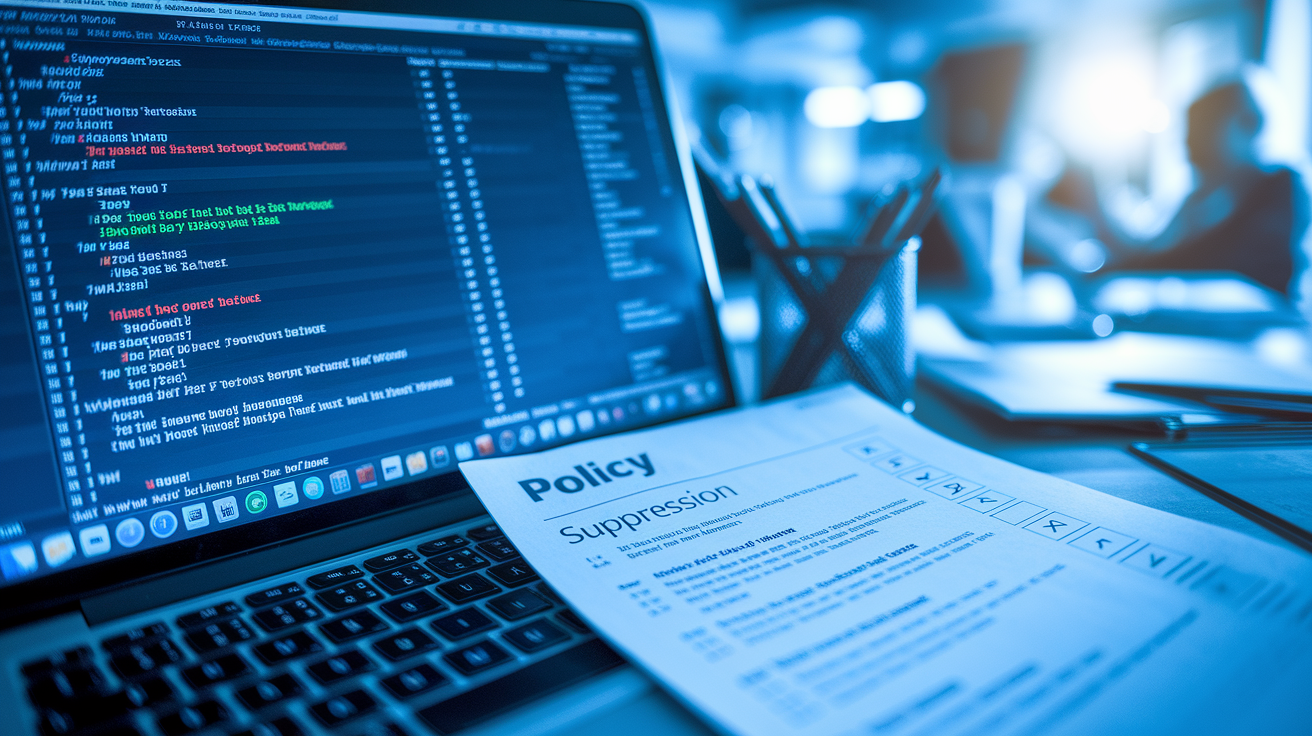
False positives crop up when CPE mapping is ambiguous, when the NVD lists a vulnerability for a product name that matches multiple libraries, or when version-range logic in the CVE entry doesn’t account for backported patches. The scanner flags these as vulnerabilities, but manual review shows the CVE doesn’t actually apply.
Suppression files (XML documents that list CVE IDs, CPE patterns, or file hashes to ignore) let you document accepted risks and stop the same false positive from failing every build.
A suppression entry usually includes a CVE identifier and a reason note explaining why it’s suppressed. “Not applicable because we don’t use the vulnerable module” or “Fixed in custom patch.” Evidence Count and CPE Confidence scores guide triage. Low-confidence findings with sparse evidence are top candidates for suppression after verification.
Mitigation workflows: cross-reference the CVE advisory, check your actual usage of the dependency, test a patched version, and either upgrade the library or add a suppression rule with justification for audit trails.
Steps to suppress a false positive:
- Review the report and identify the issue. Note the CVE ID, CPE, and dependency name.
- Create or edit a suppression XML file. Add a
<suppress>block with the CVE or file-path pattern and a<notes>field documenting the reason. - Re-run the scan with the suppression file. Use
--suppression ./suppression.xmlto load the rules and verify the finding no longer appears.
Policy rules go beyond simple CVE suppression. Some teams set maximum allowed CVSS scores per environment (CVSS < 4.0 for dev, < 7.0 for staging, no CRITICAL in prod), define mandatory review windows for new HIGH findings, or require security-team sign-off before suppressing any CRITICAL vulnerability. Align your suppression and policy rules with your organization’s open-source governance framework so every suppressed finding has an audit trail and a documented reason.
Remediation Guidance and Next Steps After a Dependency‑Check Scan

OWASP Dependency‑Check identifies vulnerabilities but never patches them automatically. Remediation is a manual engineering task. Once the report highlights a vulnerable dependency, figure out whether an updated version exists that closes the CVE. Check the library’s release notes or changelog, look for a version range in the NVD entry that shows which versions are safe, and test the upgrade in a development branch to catch breaking API changes.
CVSS scores guide priority. Start with CRITICAL (CVSS 9.0–10.0) and HIGH (7.0–8.9) findings, especially for direct dependencies or libraries that handle untrusted input. A dependency that appears once in the report might be used in dozens of places across your codebase. Build tools like mvn dependency:tree or npm ls show every module that pulls in the vulnerable package, helping you understand blast radius.
Transitive dependencies need coordination with the upstream library owner. If library A depends on vulnerable library B, you might need to wait for library A to release a new version that bumps B. Or you can use dependency-override mechanisms (Maven’s <dependencyManagement>, npm’s overrides) to force a safe version and accept the risk of API incompatibility.
Upgrade path: check semantic versioning rules, read migration guides, run your test suite, and validate that the new version doesn’t introduce regressions. If no patch exists and the vulnerability is critical, consider replacing the dependency with a maintained alternative, applying a vendor patch, or putting runtime mitigations in place (input validation, network segmentation) until an official fix ships.
Final Words
You saw the full mechanism: evidence collection from manifests and files, CPE mapping into a Lucene index, NVD/CVE comparison, CVSS enrichment, and final report generation.
We also covered the key components (analyzers, engine, data manager), discovery signals (hashes, PURLs, evidence counts), matching techniques, CI integration, and remediation priorities.
If you want a live answer to how does owasp dependency check work, run a CLI scan in your repo or CI to watch the 7‑step pipeline and reports. It’s practical and will help you catch risky libraries earlier.
FAQ
Q: How does OWASP Dependency-Check work?
A: OWASP Dependency-Check works by collecting evidence from files and binaries, mapping that evidence to CPEs, indexing with Lucene, comparing against NVD CVE data, matching vulnerabilities, enriching CVSS, and generating reports.
Q: What are the main components and how do they interact?
A: The main components are analyzers, the engine, the data manager, Lucene index, and the report generator; analyzers feed evidence to the engine, the data manager updates NVD feeds, and Lucene stores mappings used for matching.
Q: What does the scanner inspect and how is evidence collected?
A: The scanner inspects manifests, filenames, metadata, and binaries; analyzers parse pom.xml/package.json/requirements.txt, extract metadata and SHA-1/SHA-256 hashes, create PURLs, and tally Evidence Count and confidence.
Q: How does Dependency-Check map evidence to CPEs and match CVEs?
A: Dependency-Check maps evidence to CPEs and PURLs using heuristics, stores mappings in Lucene, then compares those CPEs and hashes against NVD CVE entries to identify matching vulnerabilities.
Q: Which package ecosystems and analyzers are supported?
A: Dependency-Check primarily supports Java, Node.js, and .NET; Python, Ruby, PHP, Go, and SBT have additional or experimental analyzers. Analyzer coverage varies by ecosystem (JarAnalyzer, NPM, NuGet, etc.).
Q: What report formats are available and what do key fields mean?
A: Dependency-Check outputs HTML, XML, JSON, and CSV. Key fields are Evidence Count, CPE Confidence, CVE ID, and CVSS severity — use them to assess match strength and prioritize fixes.
Q: How do I integrate Dependency-Check into CI/CD pipelines and fail builds?
A: Integrate by running the CLI or plugin in CI, auto-updating NVD feeds, using suppression files and baselines, and failing builds with set thresholds (for example, fail when CVSS ≥ 7.0).
Q: How do I run the CLI scanner and interpret exit codes?
A: Run dependency-check.sh (Java required) to produce dependency-check-report.html. Exit code 0 means success/no threshold breach; nonzero indicates threshold failures or scanner errors that need attention.
Q: How should teams handle false positives and suppression files?
A: Teams handle false positives by reviewing Evidence Count and CPE Confidence, triaging manually, then using suppression XML to suppress verified false positives and document the decision.
Q: What are the remediation steps and how do I prioritize fixes?
A: Remediation means manually upgrading or patching packages; prioritize by CVSS severity, transitive reach, and Evidence Count, then re-scan to confirm the vulnerability is resolved.
Q: How often are NVD/CVE feeds updated and why does that matter?
A: Dependency-Check updates NVD feeds automatically; frequent updates matter because NVD is the authoritative CVE source and timely feeds keep scans accurate and current.