


Handcrafting ESLint configs is a waste of time.
You can get a ready .eslintrc.yml in under a minute with an interactive generator.
Web tools give checkboxes; CLI prompts ask the same questions right in your terminal.
They pick parser, plugins, and recommended rules for your stack so you don’t manually compose presets.
This post walks the fastest tools and a step-by-step setup flow to get ESLint running in your editor and CI in minutes.
Fastest Ways to Use an ESLint Config Generator for Immediate .eslintrc Creation

The quickest path to a working ESLint setup is an interactive generator that spits out a ready-to-use .eslintrc.yml file in under a minute. You’ve got two routes: web-based generators with checkboxes and dropdowns, or command-line tools that ask you the same questions right in your terminal. Either way, you end up with a config file you can drop into your project root.
Web generators like the ESLint Config Generator walk you through a short form where you pick your JavaScript dialect, frontend framework, test runner, and whether you want recommended rules. CLI generators like npm init @eslint/config or npx eslint --init ask the same stuff in an interactive prompt, then write the config file straight into your project directory. The output is a .eslintrc.yml or .eslintrc.json file with parser settings, plugin references, and rules built for your stack.
Enabling recommended rules is the decision that actually matters. This single toggle adds complexity limits, performance checks for common async patterns, and security rules that catch problems beyond basic syntax errors. Without it, you get a bare-bones config that only enforces default ESLint core rules. With it, you get opinionated guardrails that flag cyclomatic complexity spikes, awaits inside loops, and other patterns that slow down code or create subtle bugs.
Every generator asks for:
- JavaScript dialect — ESNext, TypeScript, JSX, TSX, or vanilla ES6
- Frontend framework — React, Vue, Angular, Svelte, or none
- Test framework — Jest, Mocha, Jasmine, or none
- Recommended rules — toggle to include complexity, performance, and security checks
- Output format — .yml or .json file to copy into your repo root
Core ESLint Config Generator Inputs and How They Shape Your Rule Set
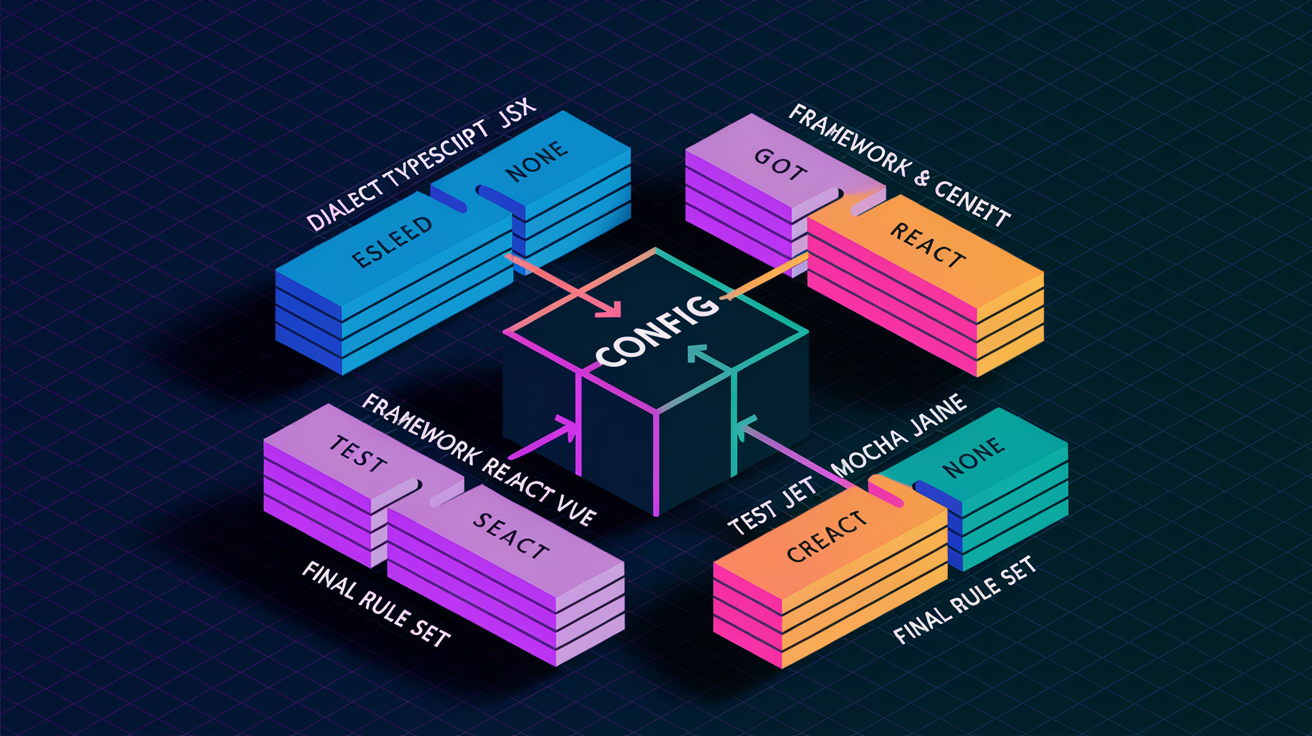
The combination of dialect, framework, test runner, and that recommended-rule toggle determines which plugins get loaded and which presets are extended. Choosing TypeScript adds the @typescript-eslint parser and plugin, which replaces core ESLint rules with TypeScript-aware versions that understand type annotations and interfaces. Selecting React injects the react plugin and extends plugin:react/recommended, enabling JSX syntax and enforcing React-specific patterns like prop validation and hook usage. Each framework or library preset pulls in a curated rule bundle designed for that ecosystem.
Test framework choices influence environment settings and globals. Picking Jest adds jest: true to the env block so describe, it, and expect are recognized as globals instead of getting flagged as undefined. Enabling recommended rules layers on extra constraints. Complexity thresholds to catch deep nesting. no-await-in-loop to spot Promise.all() refactor opportunities. Security rules that warn about eval() or unsafe regex patterns. The generator merges all these layers into a single config object, so you see the final rule set without manually composing presets.
| Option | Impact on Generated Config |
|---|---|
| Dialect (TypeScript, JSX) | Adds parser (@typescript-eslint/parser), TypeScript plugin, and type-aware rule variants |
| Framework (React, Vue, Angular) | Injects framework plugin, extends recommended preset, enables JSX or template syntax |
| Test Runner (Jest, Mocha) | Sets env globals (describe, it, expect), adds test-specific plugin if available |
| Recommended Rules | Layers complexity limits, performance checks (Promise.all pattern), and security rules on top of base config |
Step-by-Step Process for Generating an ESLint Configuration File

The generator workflow is linear and takes about 90 seconds from start to finish if you already know your stack. Start by choosing your JavaScript dialect from a dropdown or prompt. That’s usually the first question. Next, select your frontend framework or library. If your project doesn’t use React, Vue, or Angular, pick “None” to skip framework-specific rules. Then choose your test framework. If you’re not writing tests yet or using a runner the generator doesn’t list, select “None” to keep the config minimal.
After that, decide whether to enable recommended rules. Toggling this on adds complexity thresholds, performance patterns, and security checks. Finally, click the Generate button or press Enter in the CLI. The generator outputs a .eslintrc.yml file you can copy or download. The last step is to paste the file into your project root, right next to package.json, so ESLint and your editor can auto-detect it.
The numbered flow:
- Select JavaScript dialect (ESNext, TypeScript, JSX/TSX, vanilla ES6)
- Choose frontend framework (React, Vue, Angular, Svelte, or none)
- Pick test framework (Jest, Mocha, Jasmine, or none)
- Enable or disable recommended rules (complexity, performance, security)
- Click Generate or press Enter to produce the config file
- Copy the .eslintrc.yml output to your clipboard or download the file
- Paste the file into your project root directory, at the same level as package.json
Example Output From an ESLint Config Generator and What Each Rule Means

A minimal generator output for a TypeScript React project with recommended rules might look like this:
env:
  browser: true
  es2021: true
parser: "@typescript-eslint/parser"
extends:
  - eslint:recommended
  - plugin:react/recommended
  - plugin:@typescript-eslint/recommended
plugins:
  - react
  - "@typescript-eslint"
rules:
  no-unused-vars: off
  "@typescript-eslint/no-unused-vars": warn
  eqeqeq: error
  complexity:
    - warn
    - 10
  semi:
    - error
    - always
This YAML structure defines the runtime environment (browser, modern ECMAScript), tells ESLint to use the TypeScript parser, and stacks three preset rule bundles. The rules block overrides or extends those presets with project-specific constraints.
Here’s what each commonly generated rule does:
- no-unused-vars / @typescript-eslint/no-unused-vars — Catches variables you declared but never used, so you can delete them and keep the code clean. The TypeScript version understands type imports.
- eqeqeq — Forces strict equality (=== and !==) instead of loose equality (== and !=), which prevents type coercion bugs like
"5" == 5evaluating to true. - complexity — Sets a cyclomatic complexity limit (here, 10 decision points). Functions exceeding this count trigger a warning, flagging candidates for refactoring.
- semi — Enforces semicolons at the end of statements. Set to “always” or “never” depending on your style guide.
- quotes — Enforces single or double quotes for strings. Common setting is
["error", "single"]to standardize quote style across the codebase. - react/jsx-uses-react — Prevents React from being flagged as unused in JSX files, even when you don’t explicitly call React.createElement.
Integrating Your Generated ESLint Config Into Editors and CI Pipelines

Once you paste the .eslintrc.yml file into your project root, most editors auto-detect it within seconds. VS Code, WebStorm, Sublime Text, and Vim all ship ESLint plugins that read the config file and underline violations as you type. If you don’t see lint warnings immediately, install the ESLint extension for your editor. Search “ESLint” in the extension marketplace, install, and reload. Enable lint-on-save in your editor settings so fixes happen automatically when you press Cmd+S or Ctrl+S. This gives you real-time feedback without running a terminal command.
For CI pipelines, add a lint script to your package.json: "lint": "eslint ." then call npm run lint in your CI job. GitHub Actions, GitLab CI, and Bitbucket Pipelines all support Node.js environments where you install dependencies, run the lint script, and fail the build if ESLint exits with a non-zero code. A typical GitHub Actions job looks like this: check out code, run npm ci, run npm run lint, report results. If you enable cloud-based analysis through a generator that supports automated commit checks, the service registers a webhook on your GitHub, GitLab, or Bitbucket repo and runs ESLint on every push, posting inline comments directly on the commit or pull request.
To enable automated analysis on every commit without setting up CI manually, some generators offer a one-click cloud integration. You authorize the service, it registers a webhook, and from that point forward every commit triggers a lint run in the cloud. Results appear as status checks on pull requests. This approach works across GitHub, Bitbucket, and GitLab without writing YAML pipeline files.
Using ESLint Config Generators for Automated Code Review and Autofix

Generators that support autofix features can create pull requests with ready-to-merge lint fixes, but they require write permission to your repository. Write access is used for two specific purposes: registering a webhook to track new commits and opening PRs that apply eslint --fix to violations flagged in the latest push. The autofix workflow runs only when you explicitly enable it. The generator won’t modify code without your consent. When a commit introduces fixable issues (missing semicolons, inconsistent quotes, unused imports), the service opens a PR with those changes applied and labeled as an automated fix. You review the diff, approve or request changes, and merge when ready.
You can also automate linting locally using Git hooks. Tools like husky and lint-staged let you run ESLint on staged files before each commit. If lint errors exist, the commit is blocked until you fix them or override the hook. This keeps the main branch clean and shifts enforcement left to the developer’s machine instead of waiting for CI to fail.
Automation tasks commonly enabled by the generated config include:
- PR lint checks — CI job that runs ESLint on every pull request and posts a pass/fail status
- Autofix PRs — Service opens a pull request with
eslint --fixapplied to violations in the latest commit - Pre-commit hooks — husky triggers
lint-stagedto run ESLint on changed files before commit completes - Staging-only checks — lint-staged runs ESLint only on files in
git add, not the entire codebase - Webhook registration — Write permission used to install a webhook that notifies the service of new commits
Performance and Refactoring Insights From Generated ESLint Rules

Recommended rule sets often include a complexity rule that enforces a cyclomatic complexity limit. Cyclomatic complexity is the count of decision points in your code. Every if, else, case, loop condition, or ternary operator adds one to the count. A function with a complexity of 15 has 15 distinct paths through it, which makes testing and debugging harder. When the complexity rule triggers a warning, it’s a signal to extract helper functions, flatten nested conditions, or replace giant switch statements with lookup tables. The default threshold in many generated configs is 10, meaning any function with more than 10 decision points gets flagged.
Performance rules catch common async anti-patterns. The no-await-in-loop rule warns when you await inside a for or while loop, because each iteration blocks until the promise resolves. Instead, create all the promises first, then use Promise.all() to run them in parallel. This refactor can cut execution time from N × delay to max(delay), especially when fetching multiple independent resources. Generators that enable recommended rules include this check by default, so you catch the pattern during code review instead of in production.
Security, Permissions, and Privacy Notes for Using ESLint Generators

When a generator asks for write permission to your repository, it’s explicitly requesting access for two features: registering a webhook to receive commit notifications and creating pull requests with autofix changes. No other write operations occur. The webhook is scoped to push events only, and the autofix PR workflow requires you to approve and merge the proposed changes before they land in your branch. If you decline write permission, the generator can still produce a config file and run read-only analysis, but automated PR creation and commit-triggered checks will be unavailable.
All code analysis happens on files you explicitly push to the repository. Generators don’t read local uncommitted changes, access environment variables, or scan files outside the repo. If you enable cloud-based linting, the service clones your repo at each commit, runs ESLint using the .eslintrc.yml you generated, and posts results as a status check or inline comment. Your code isn’t stored beyond the duration of the lint run, and results are visible only to repository collaborators with read access.
Quick Reference Checklist for Any ESLint Config Generator Workflow

Whether you use a web-based generator or a CLI wizard, the process follows the same logical steps. This checklist covers the full lifecycle from config creation to daily usage. Start by choosing your stack, generate the config, integrate it into your editor and CI, then optionally enable automation features.
The complete workflow:
- Open an interactive generator like the ESLint Config Generator or run
npm init @eslint/configin your terminal - Select your JavaScript dialect (TypeScript, JSX, ESNext, or vanilla ES6)
- Choose your frontend framework (React, Vue, Angular, Svelte, or none)
- Pick your test framework (Jest, Mocha, Jasmine, or none)
- Enable or disable the recommended rules toggle to add complexity, performance, and security checks
- Click Generate or press Enter to produce the .eslintrc.yml or .eslintrc.json file
- Copy the generated config file into your project root, at the same level as package.json
- Install the ESLint plugin for your editor (VS Code, WebStorm, Sublime, Vim) and enable lint-on-save
- Add a lint script to package.json (
"lint": "eslint .") and call it in your CI pipeline (GitHub Actions, GitLab CI, Bitbucket Pipelines) - If enabling automated commit checks or autofix PRs, authorize write permissions so the service can register webhooks and create pull requests
Final Words
Generate a ready .eslintrc.yml in seconds with the web wizard or npm init @eslint/config — pick your dialect, framework, test runner, and recommended rules, then copy the output to your project root.
Those inputs decide which plugins, presets, and rule severities land in the file. The config then hooks into editors, CI, and commit hooks for autofix and PR checks. Watch complexity and performance toggles; they change lint behavior more than you might expect.
If you want the fastest path, use an eslint config generator and enable recommended rules. It’ll cut setup friction and get you linting sooner.
FAQ
Q: What are the fastest ways to generate an .eslintrc file?
A: The fastest ways to generate an .eslintrc file are using a web interactive generator like ESLint Config Generator or the CLI (npm init @eslint/config or npx eslint –init) to output a ready .eslintrc.yml.
Q: What file formats do generators produce and where should I put the file?
A: Generators produce .eslintrc.yml, .eslintrc.json, or .eslintrc.js; place the chosen file at your project root so editors and CI auto-detect it and ESLint runs from the project folder.
Q: How do my selections (dialect, framework, test runner, rules) affect the generated config?
A: Your selections determine which plugins and presets are included, rule defaults and parser choices; dialect adds parser settings, framework adds plugin rules, test runner adds globals, and recommended bundles toggle rule severity.
Q: What’s the quickest step-by-step workflow to generate a config?
A: The quickest workflow is: choose your dialect, pick framework, select test runner, enable recommended rules, pick output format, generate, then copy or save the .eslintrc file to project root for use.
Q: What common rules appear in generator output and what do they mean?
A: Common rules include no-unused-vars (flag unused variables), eqeqeq (require ===), complexity (limit decision points), and performance checks like avoiding await inside iterables; severities are warn or error, some are auto-fixable.
Q: How do I integrate the generated config with editors and CI?
A: Place the config at project root, install listed plugins, enable your editor’s ESLint extension (VS Code auto-detects .eslintrc.yml), then add npm run lint or eslint . to your CI pipeline commands.
Q: How can I enable autofix and automated lint checks on commits and PRs?
A: You enable autofix and checks by adding lint scripts, using husky + lint-staged for precommit fixes, and granting repo permissions for CI or bot PRs so autofix changes can be opened as pull requests.
Q: Which generated rules help with performance and refactoring suggestions?
A: Generated performance rules warn on await inside iterables, suggest Promise.all where safe, and flag high cyclomatic complexity—these point to refactor spots and help speed up both runtime and review cycles.
Q: What security or privacy permissions should I expect when using online generators or automation?
A: Online generators only need write permissions if you opt into webhook registration or autofix PR creation; all automated changes require explicit consent and you can decline write access to keep control.
Q: What’s a quick checklist to follow after using any ESLint config generator?
A: Quick checklist: pick dialect, pick framework, choose test runner, enable recommended rules, generate config, copy to root, install plugins, enable editor extension, add CI lint step, enable hooks if desired.